Aquaponics Update – March 17, 2010
|Ok, when I sat down to write the last blog post, I fully intended to write down my steps and instructions. Then I took a nap and all motivation died (can you tell where? I bet you can if you go back 😉 ).
So, since I got everything together, I’ve gone through about 3 distinct set-ups. It has evolved into a stable setup, but I will get to that in due course.
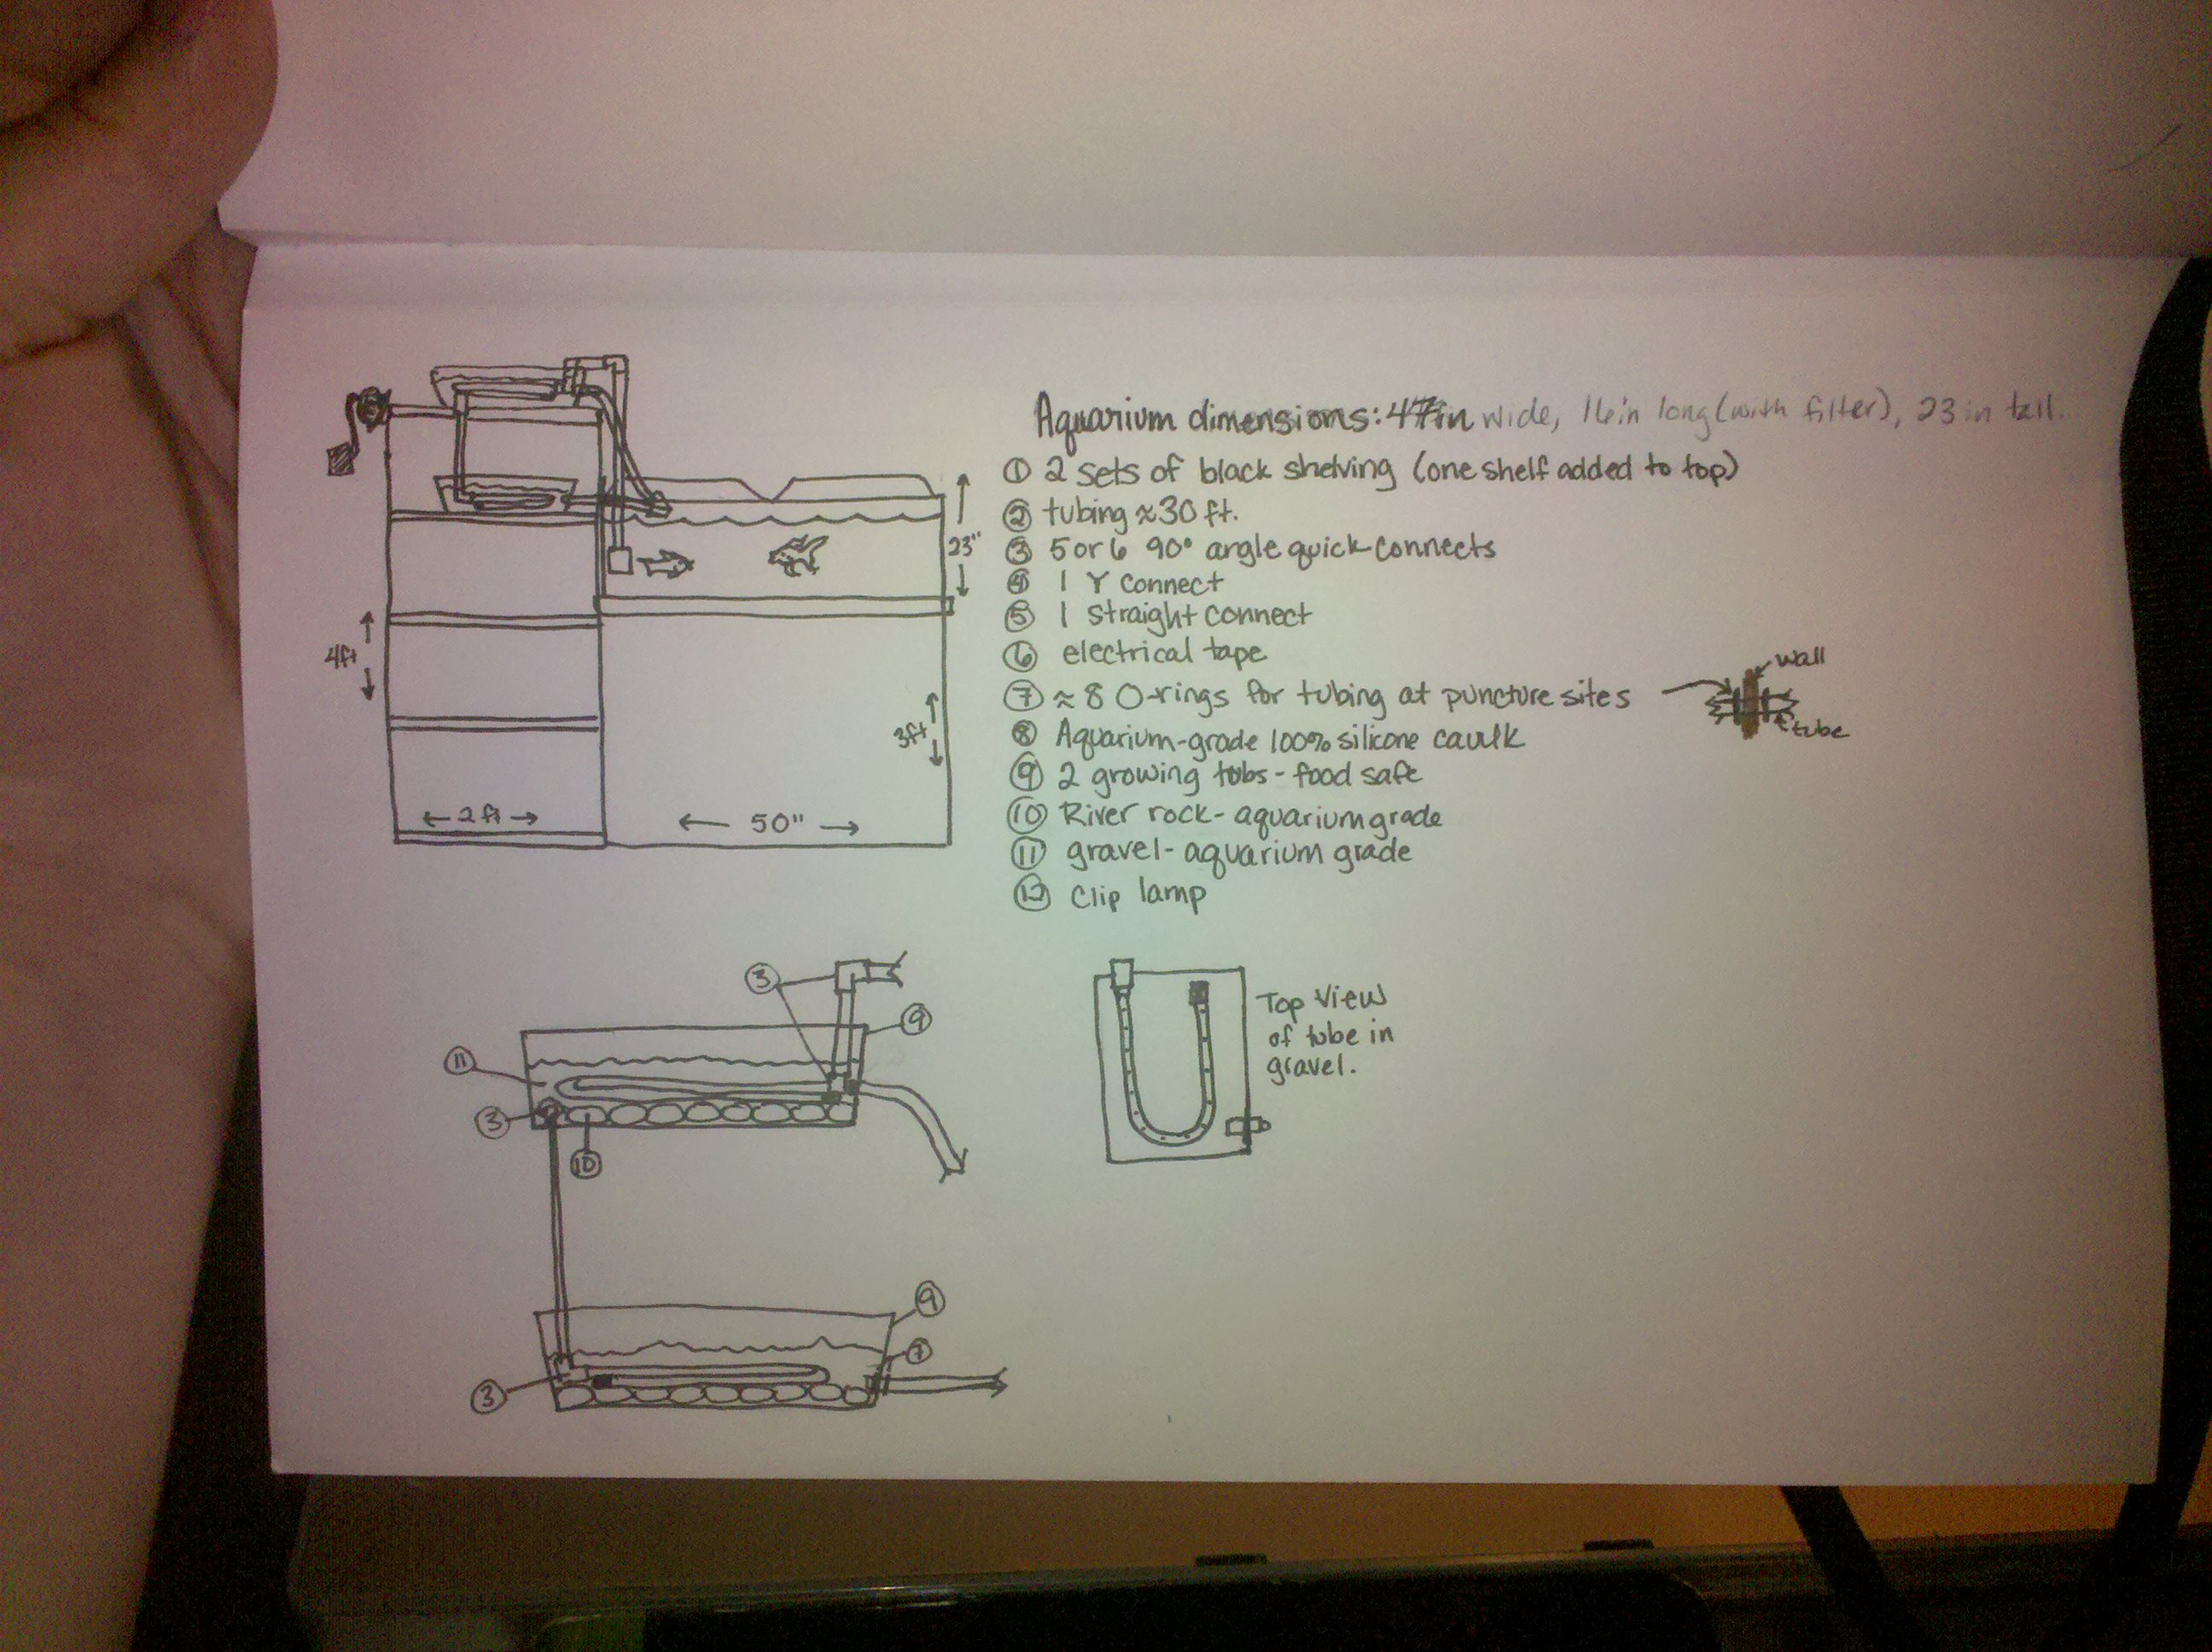
It all started with Ze Plans…

I changed a few design elements, but I’ll get to that.
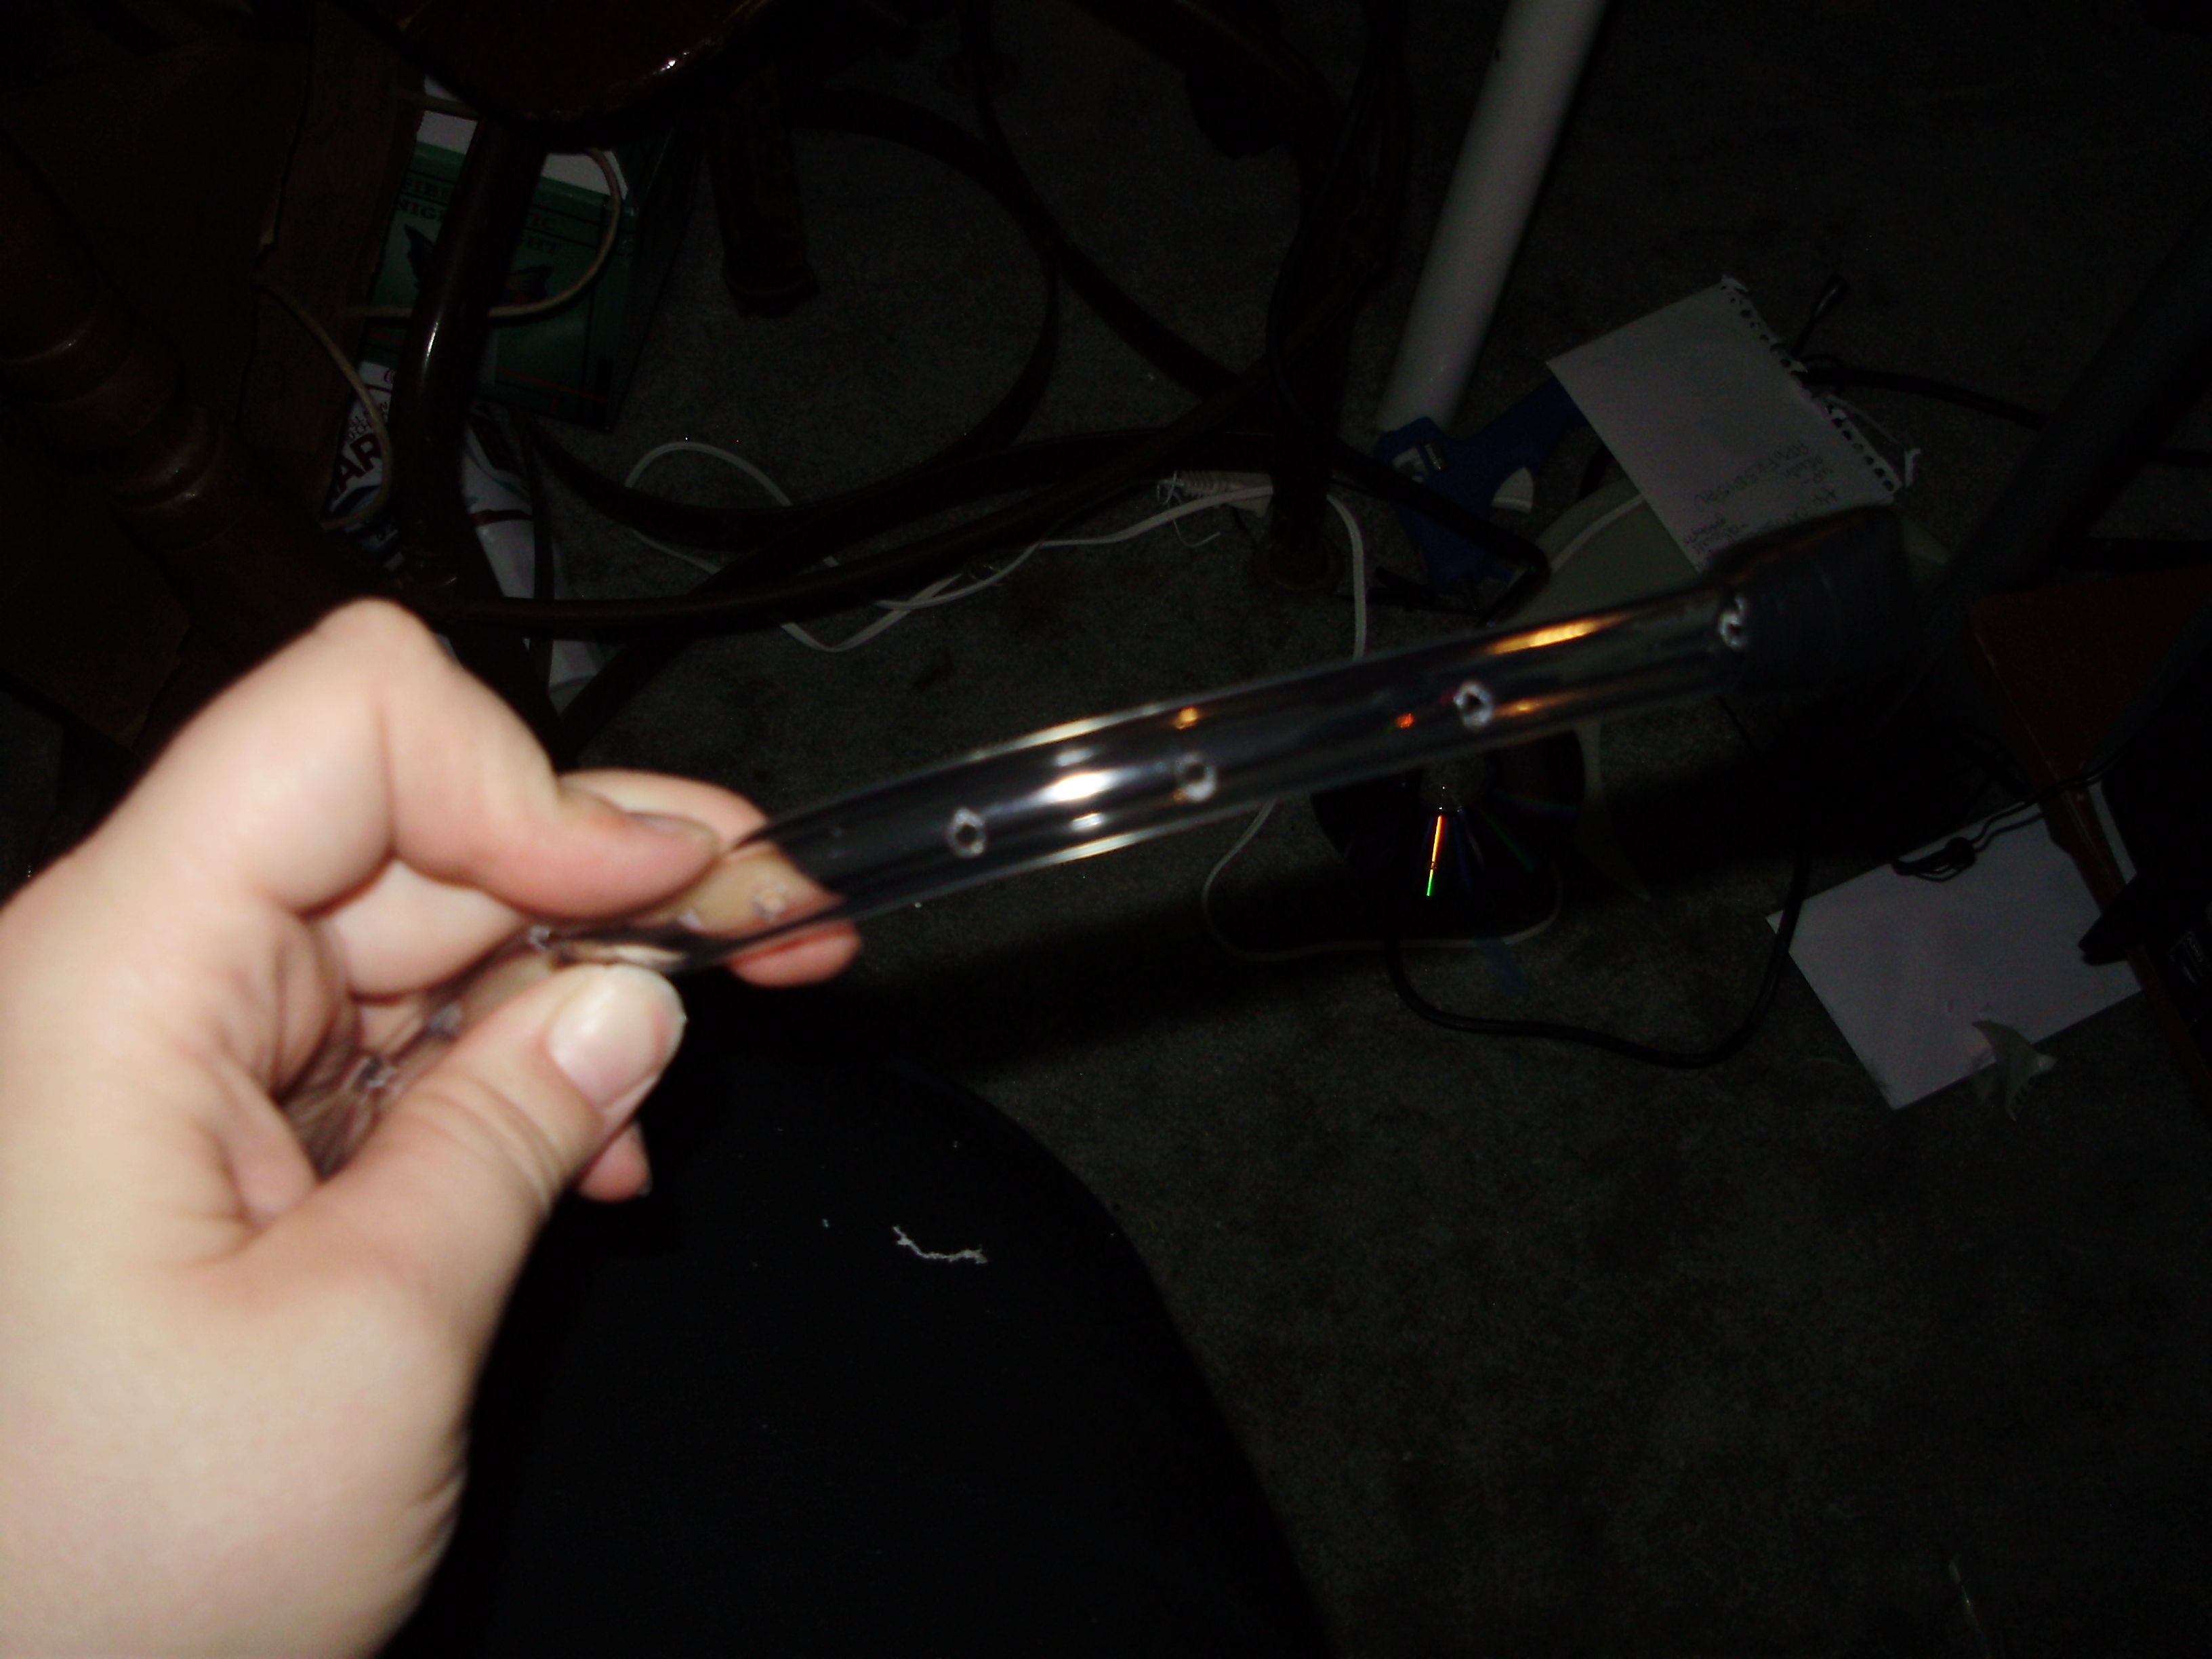
 First, I drilled a hole large enough to fit the tubing in the growbeds. Then I drilled holes every 2 inches along my water input tube, and fastened off the end with black electrical tape.
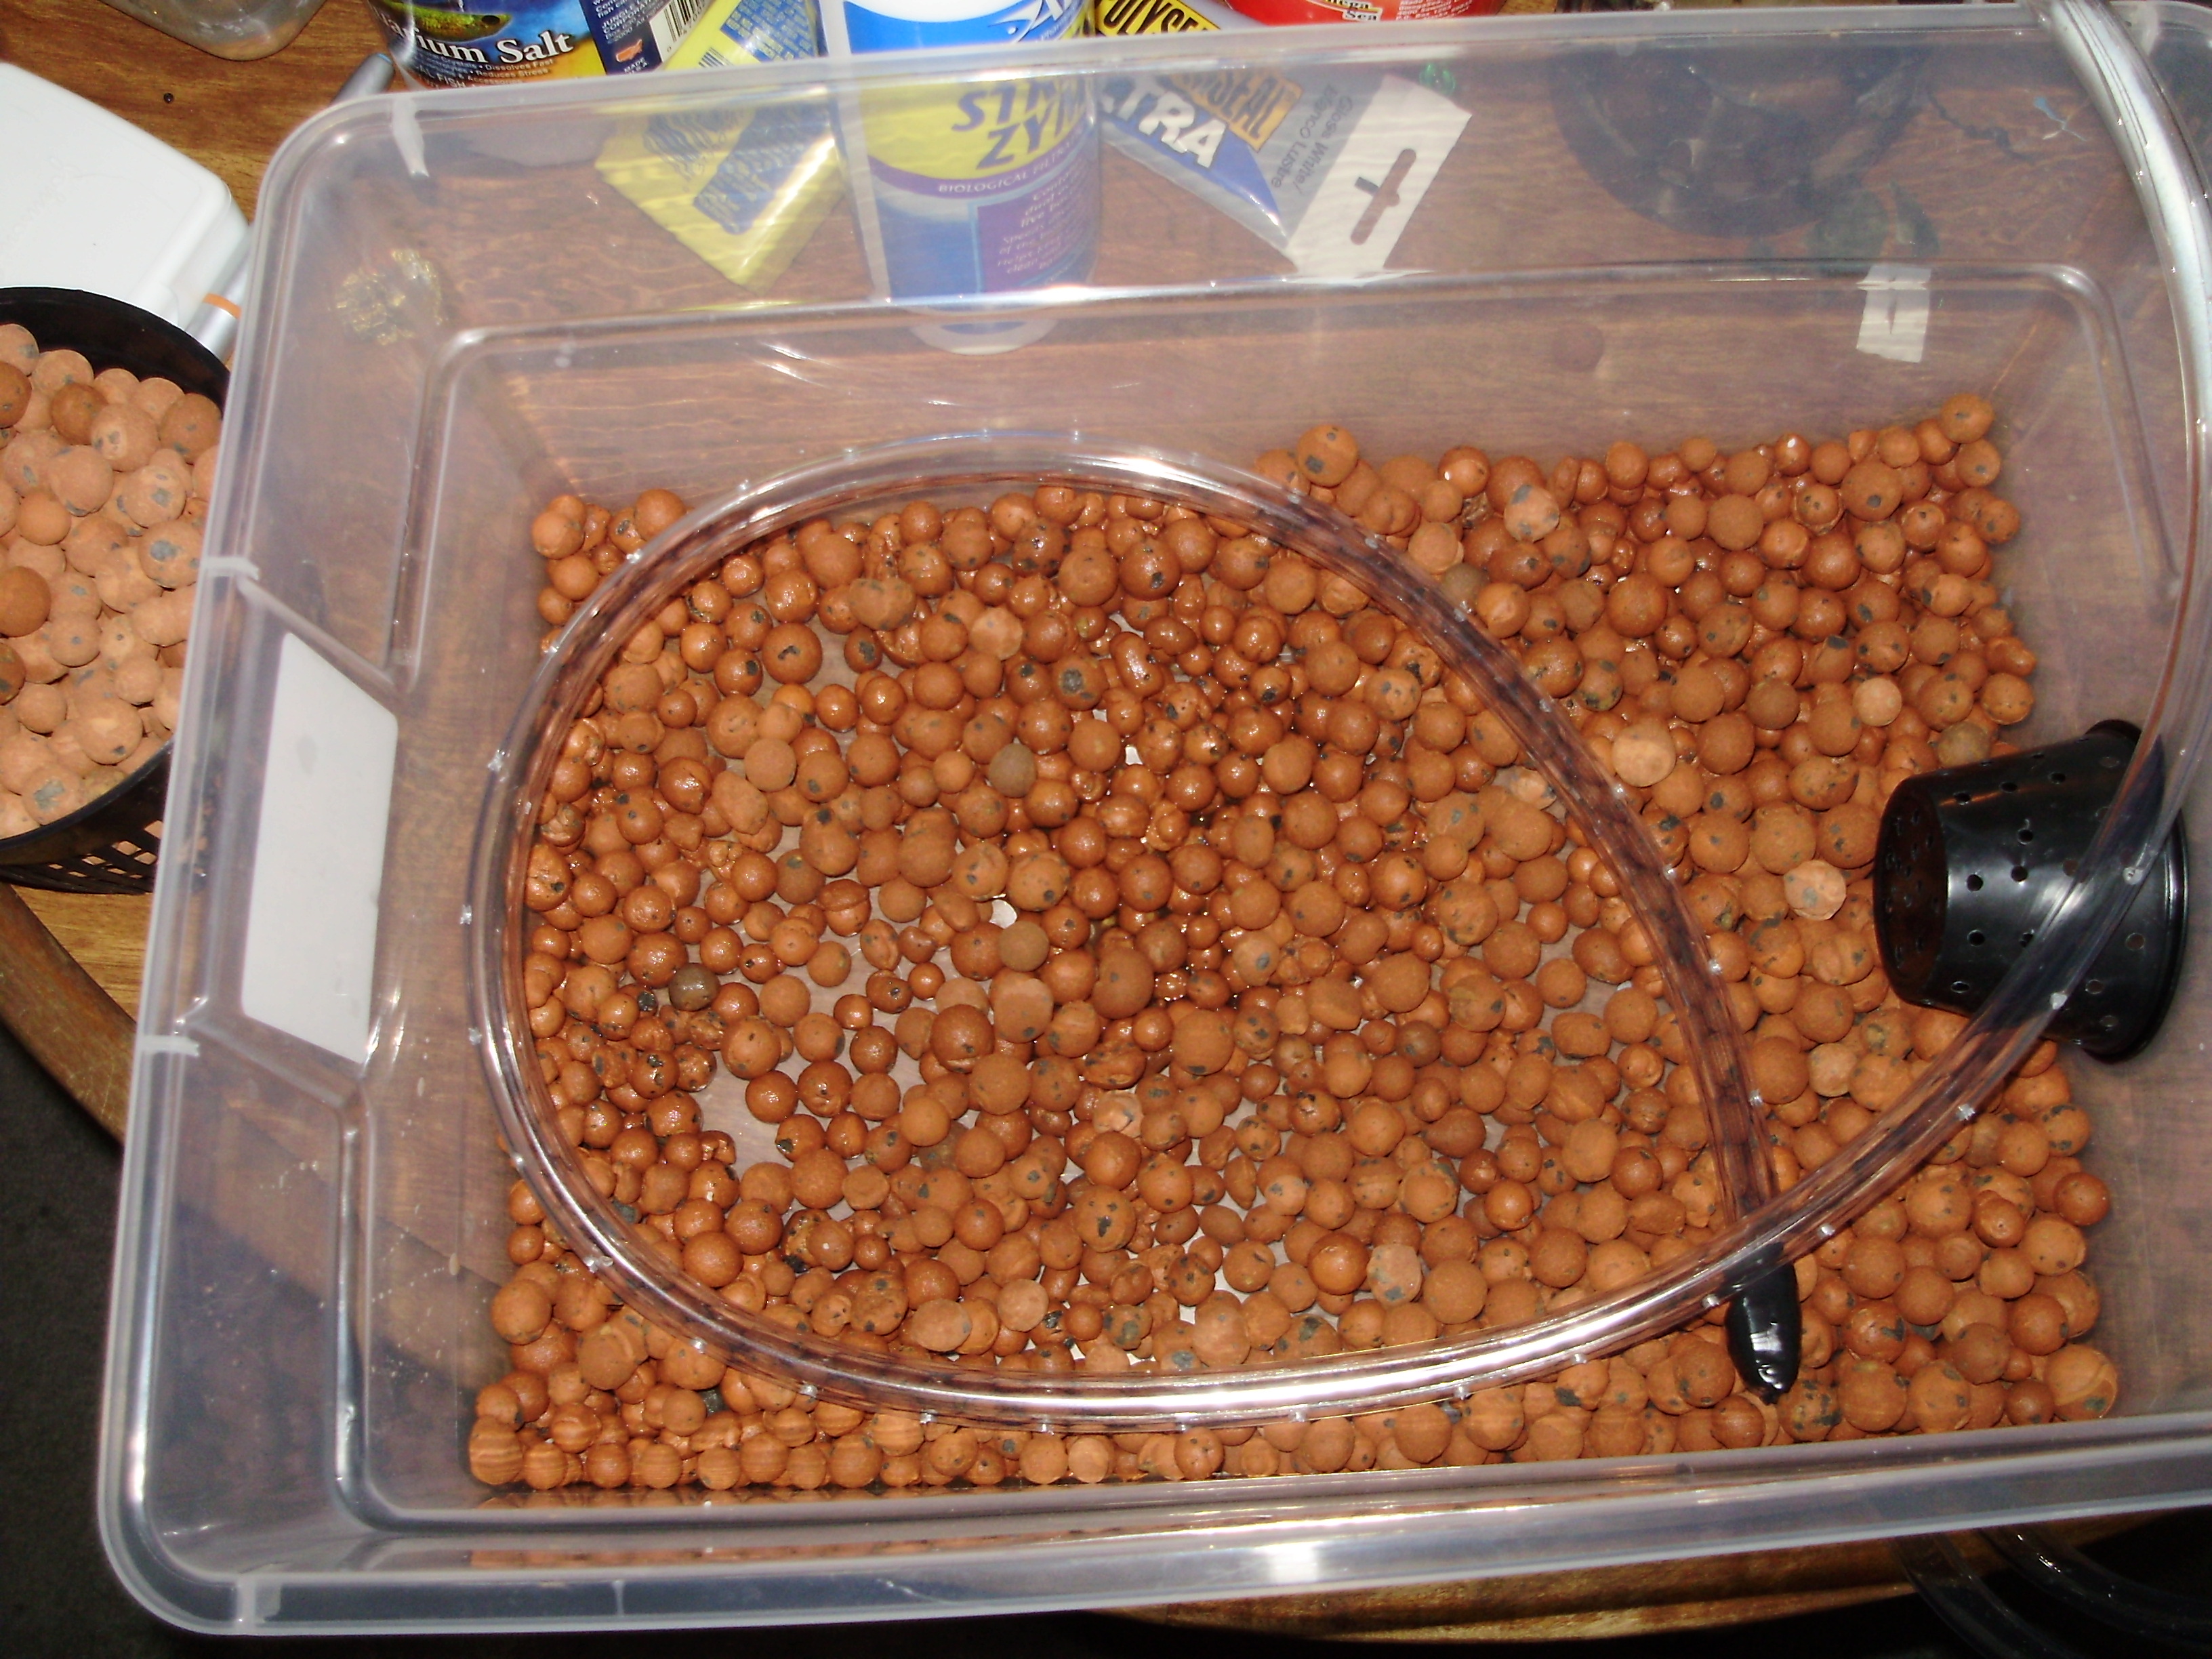
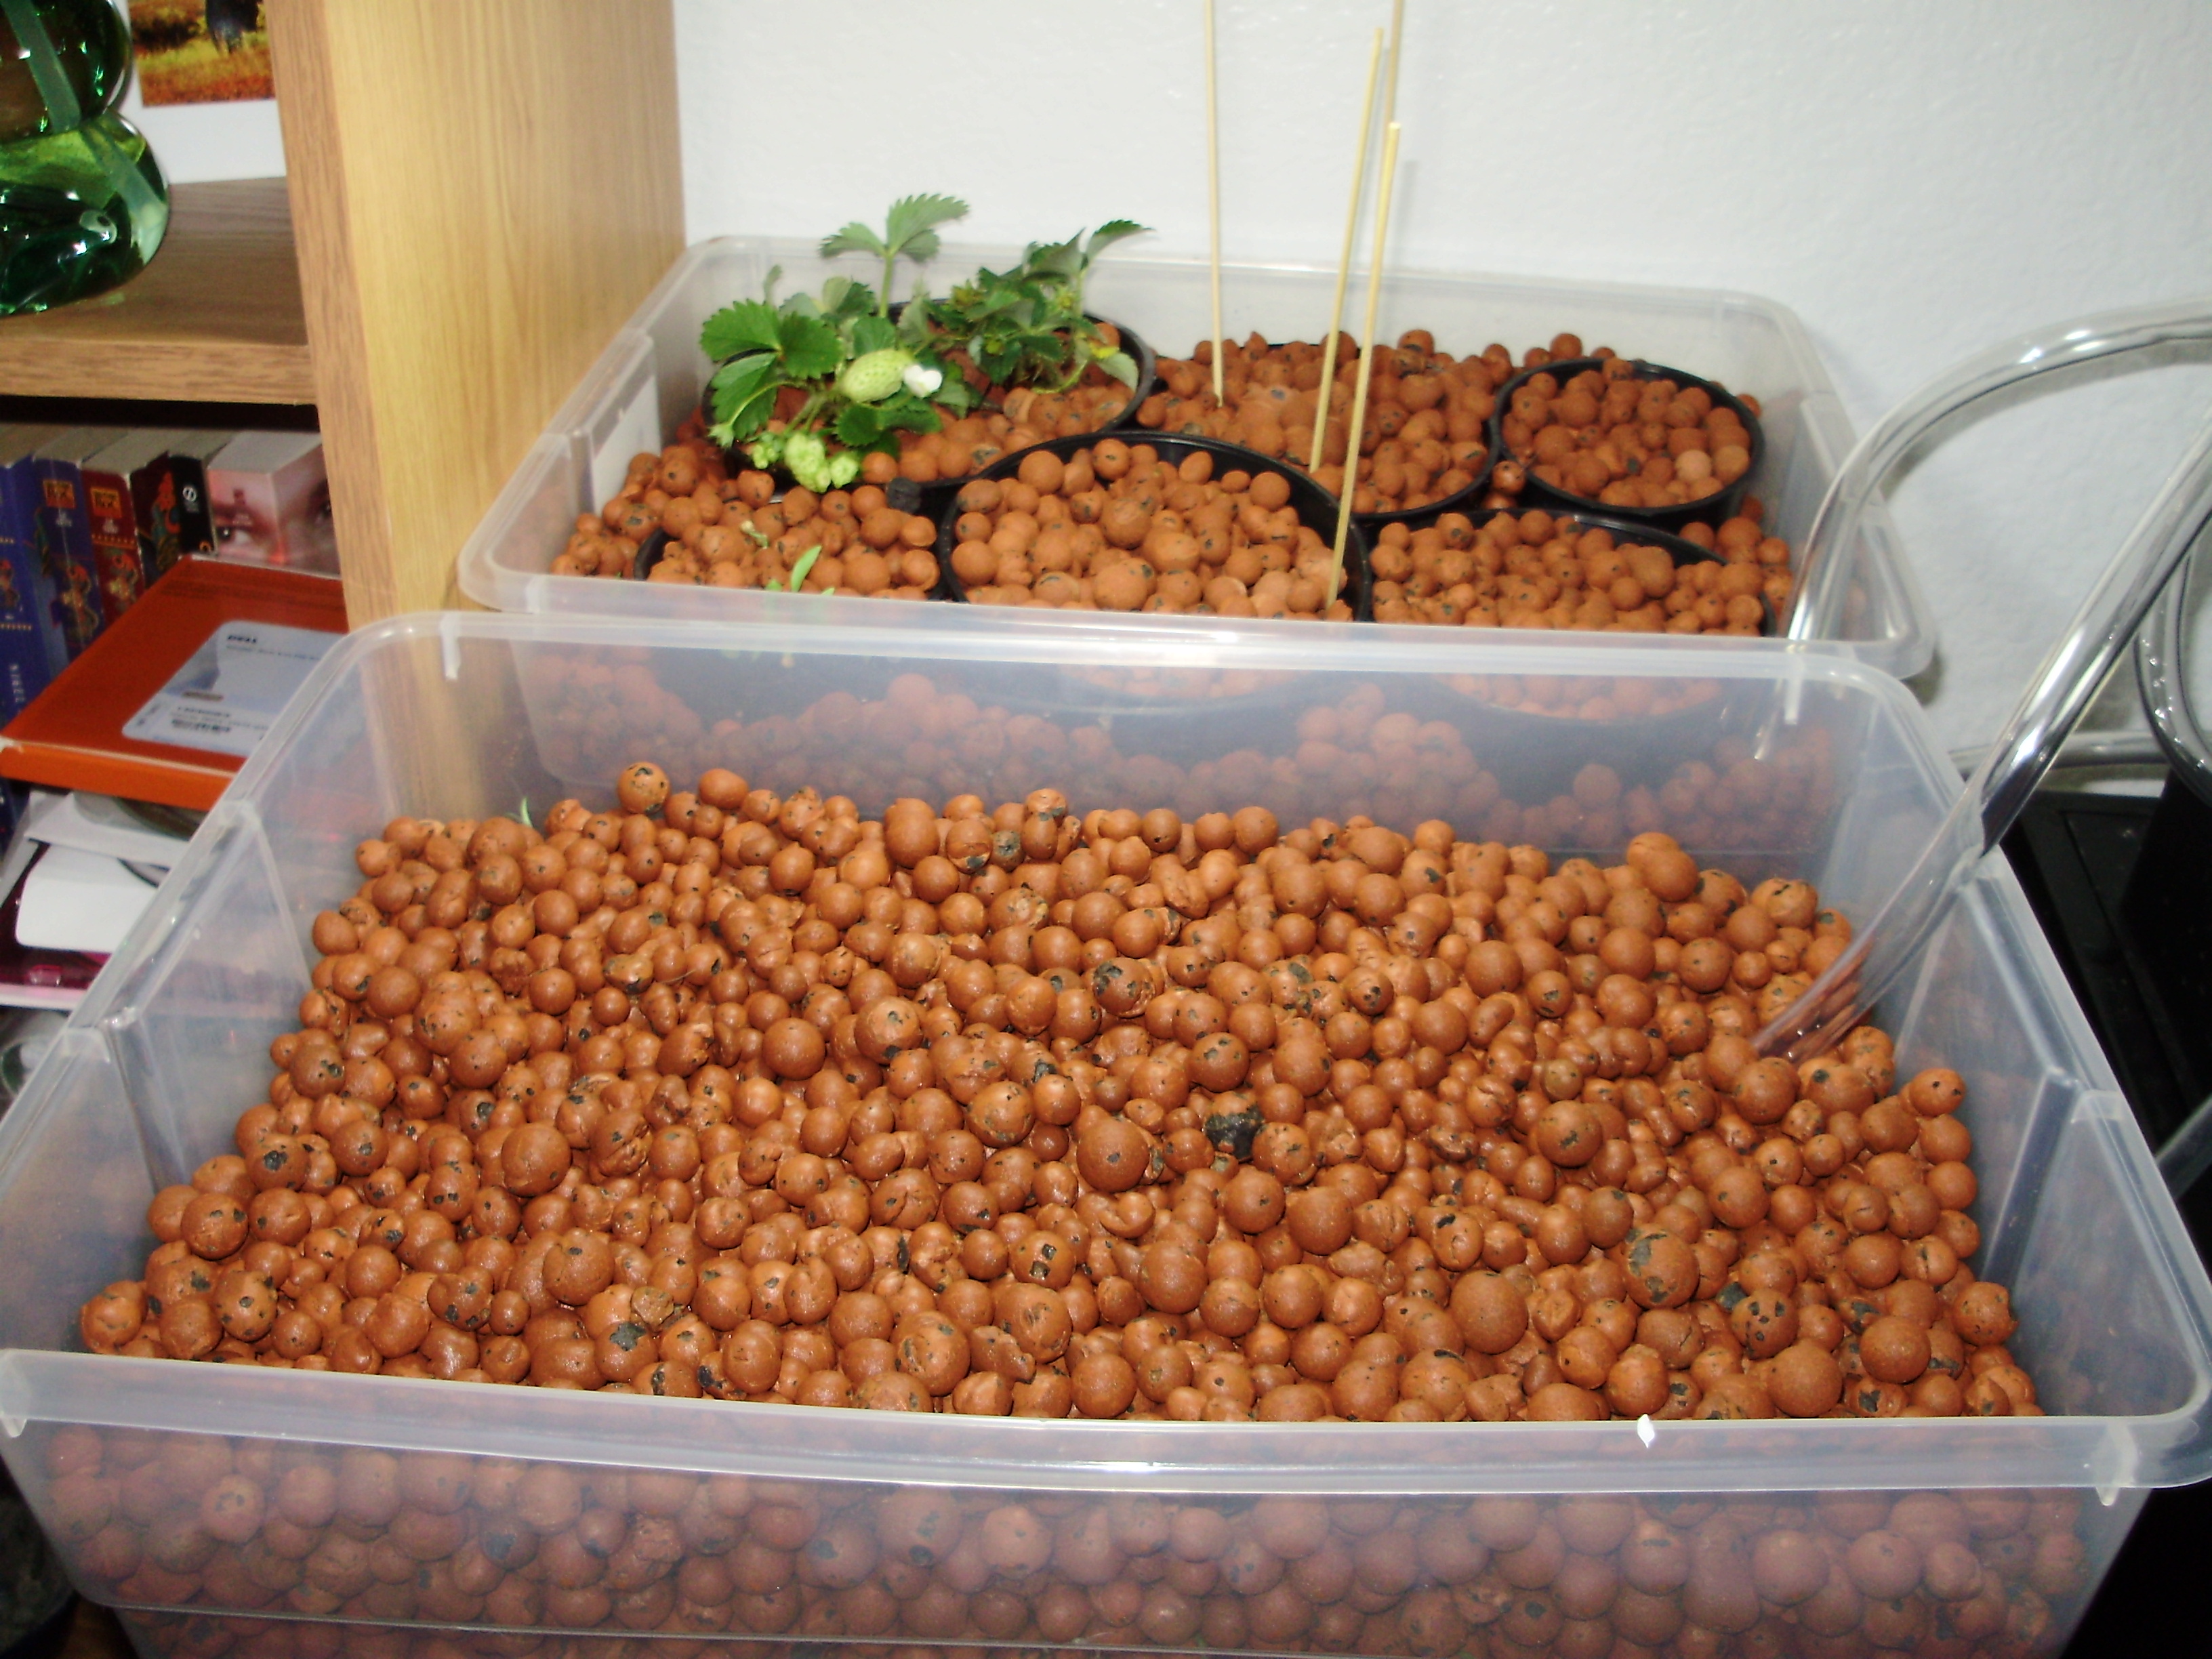
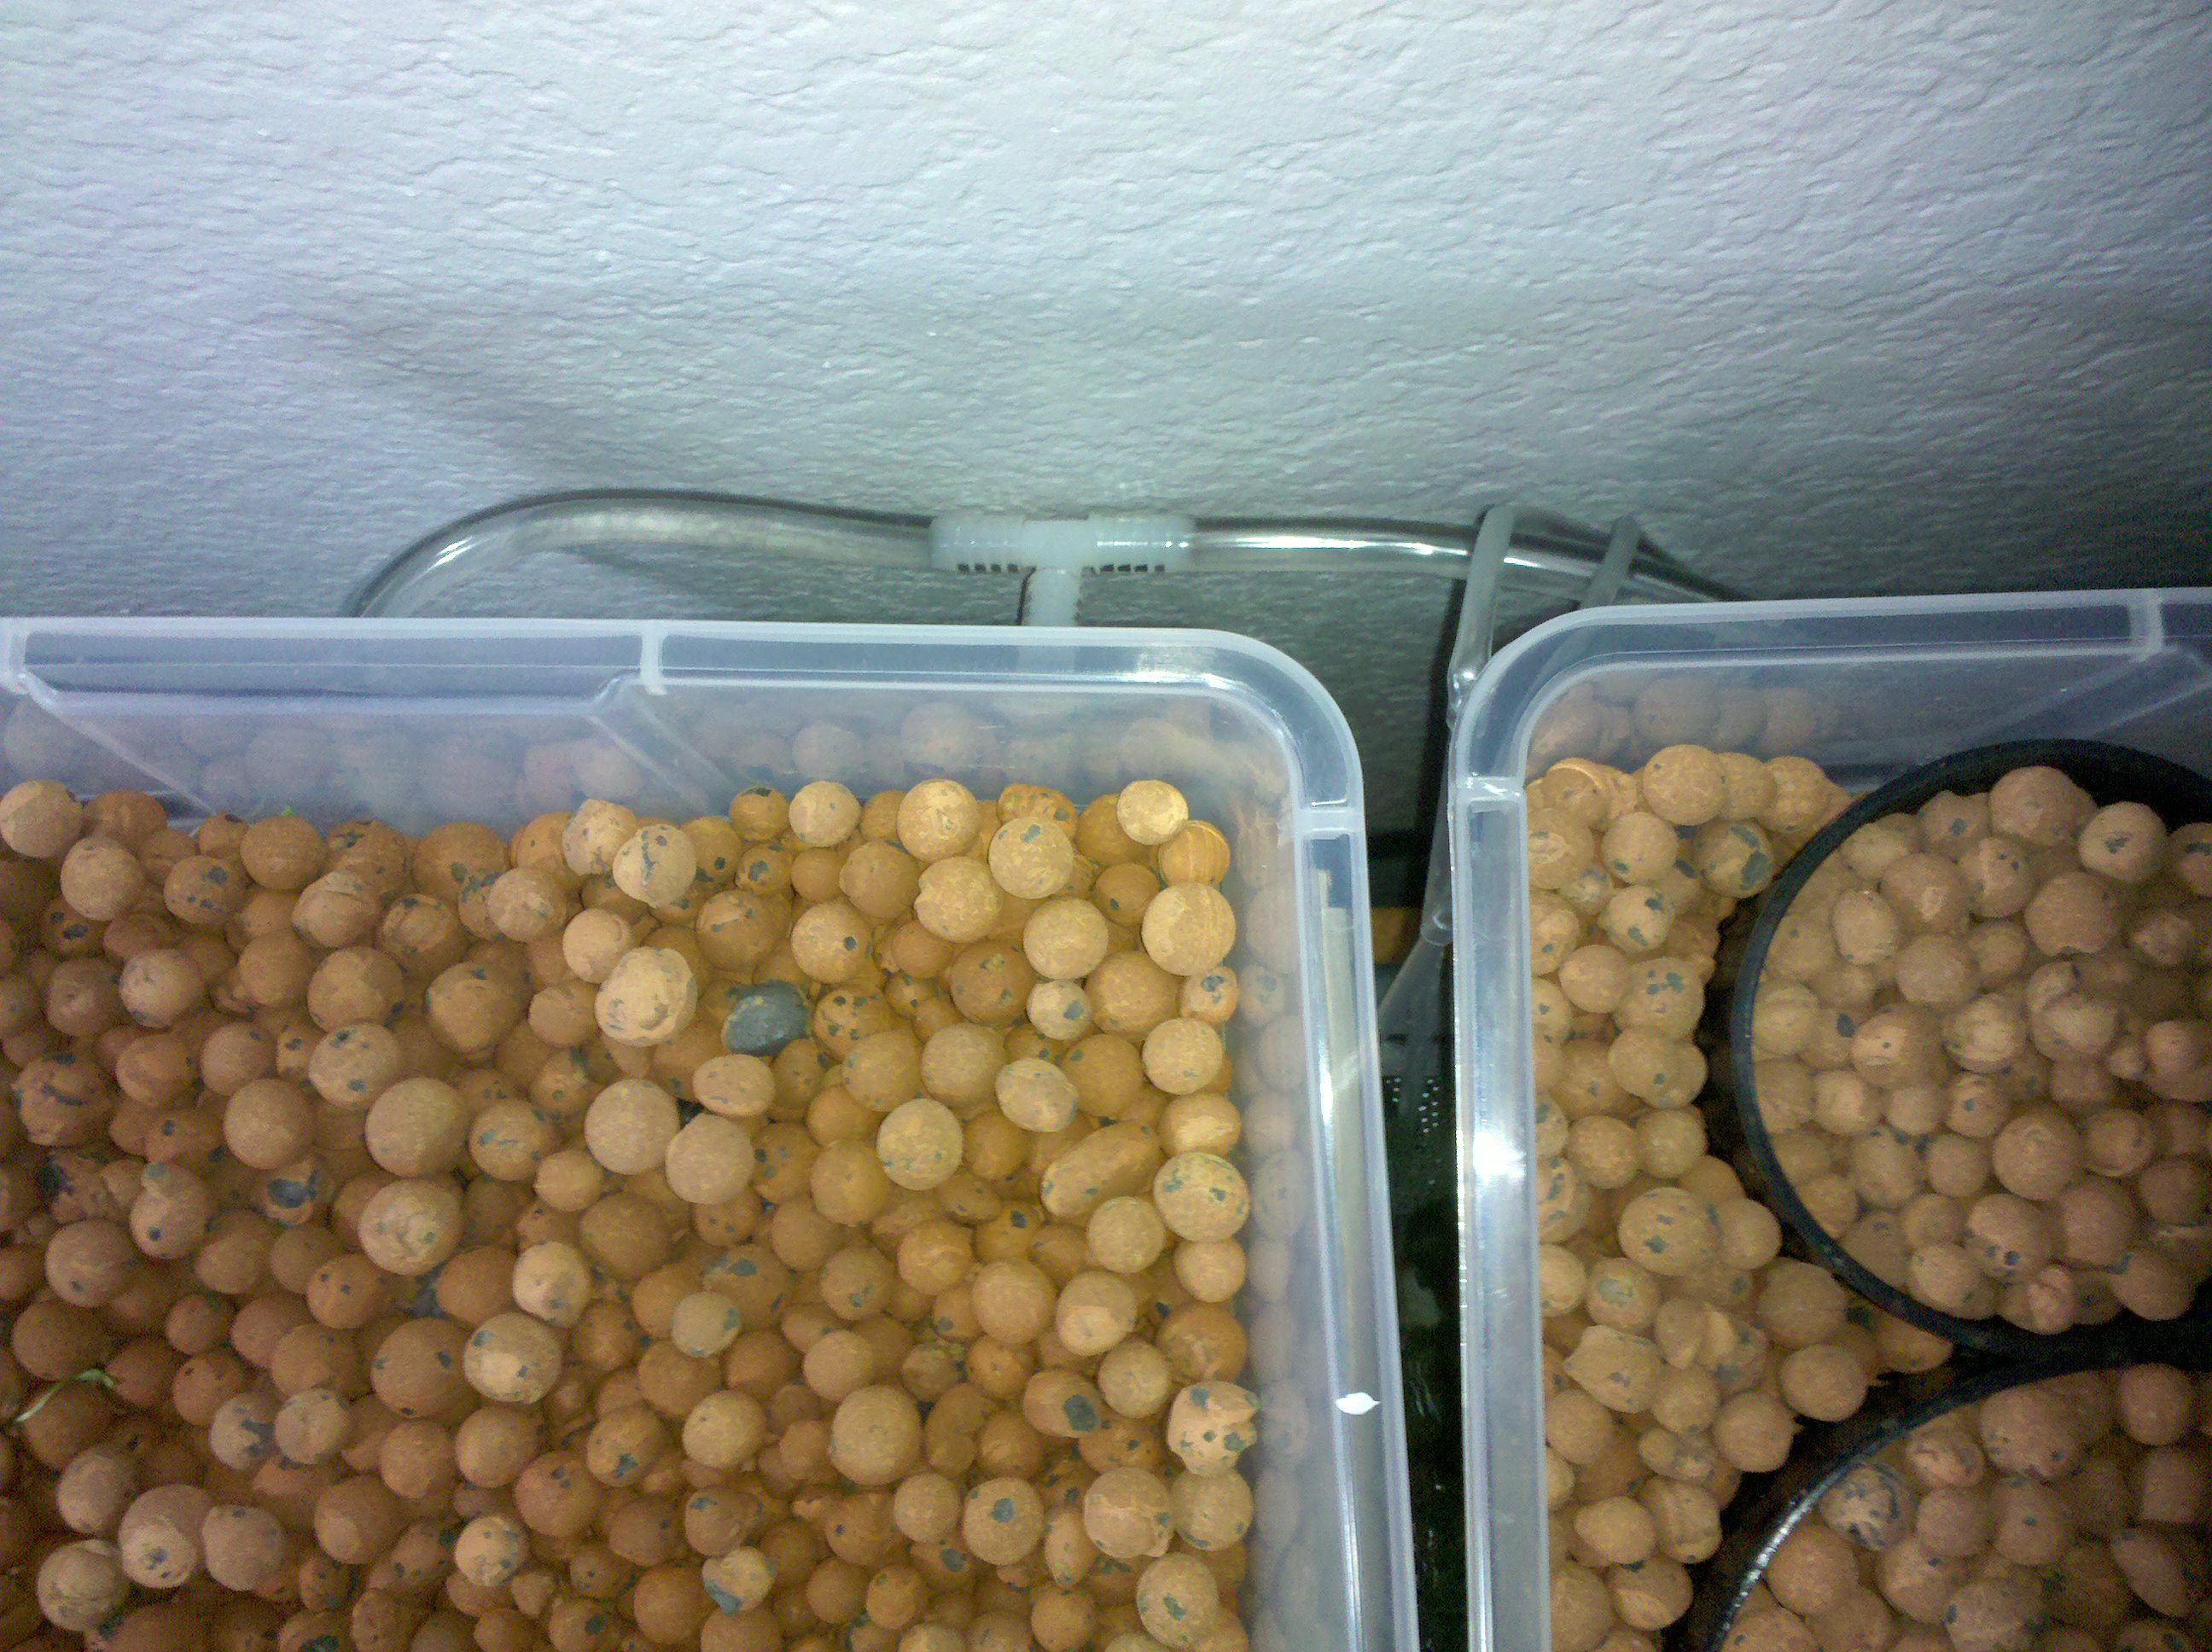
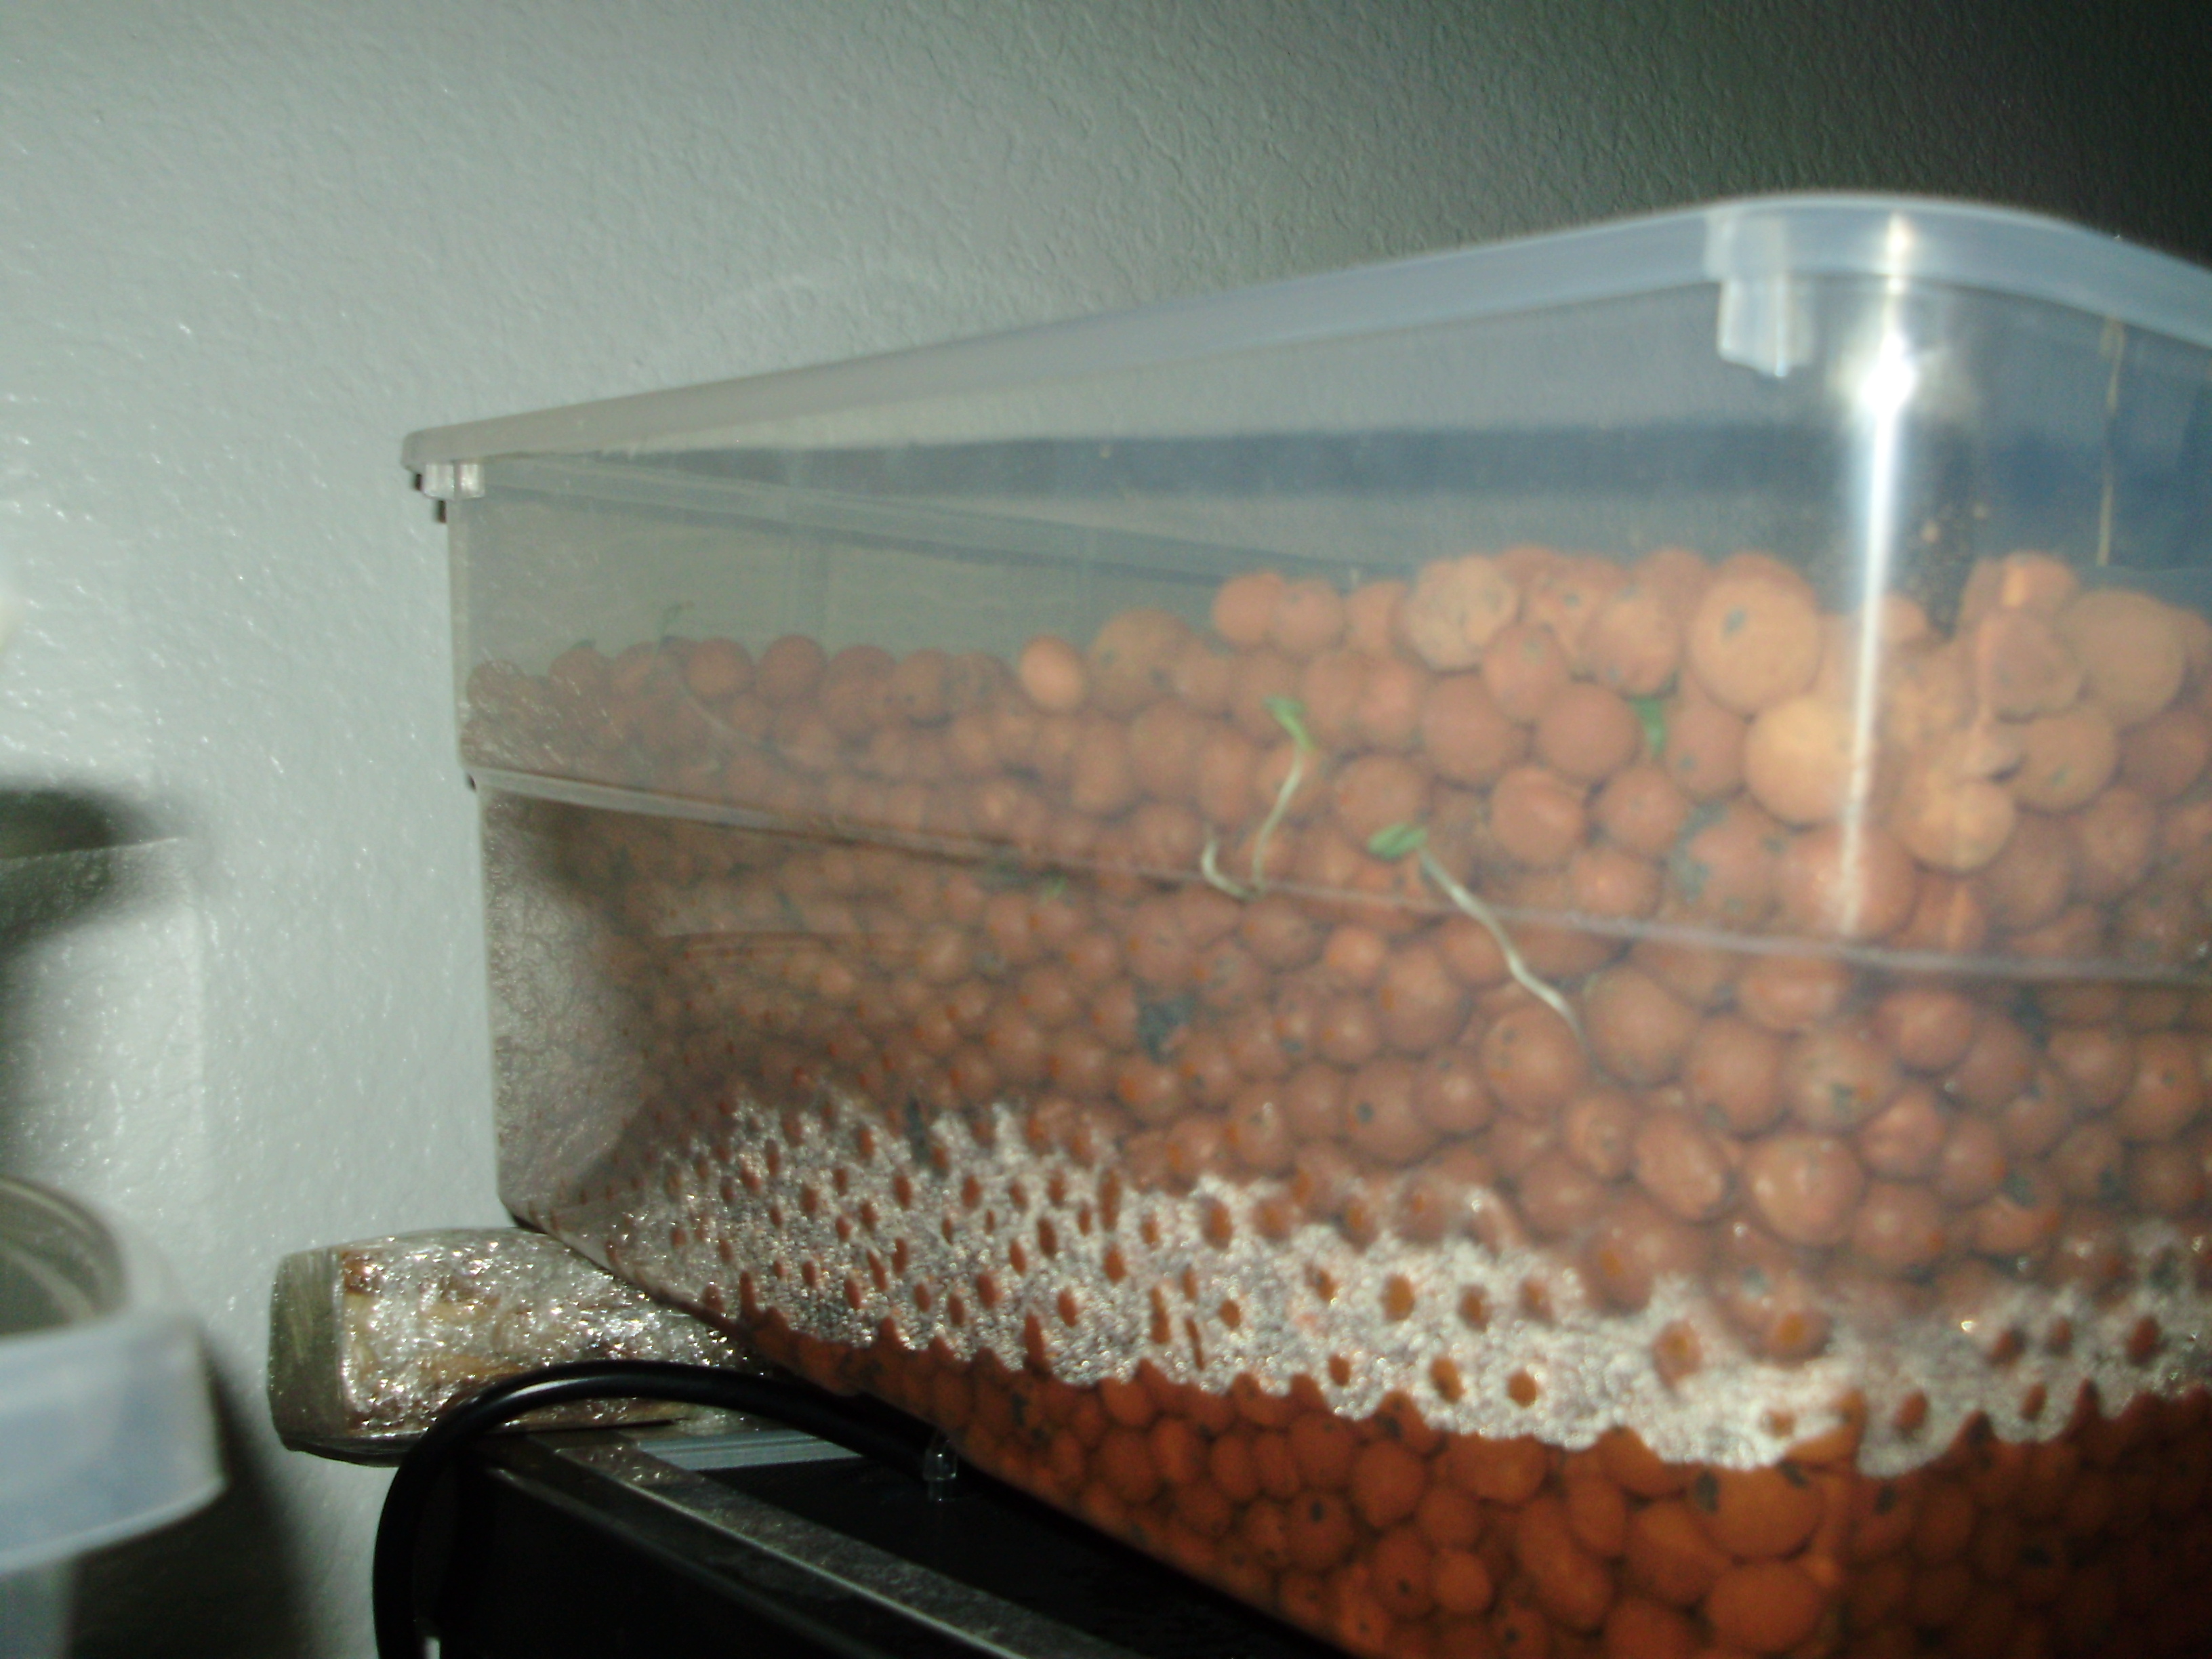
 Next, I took the washed hydroton and spread a 1 inch layer in the bottom (I used a black plastic cup to keep the hydroton from falling out of the hole).
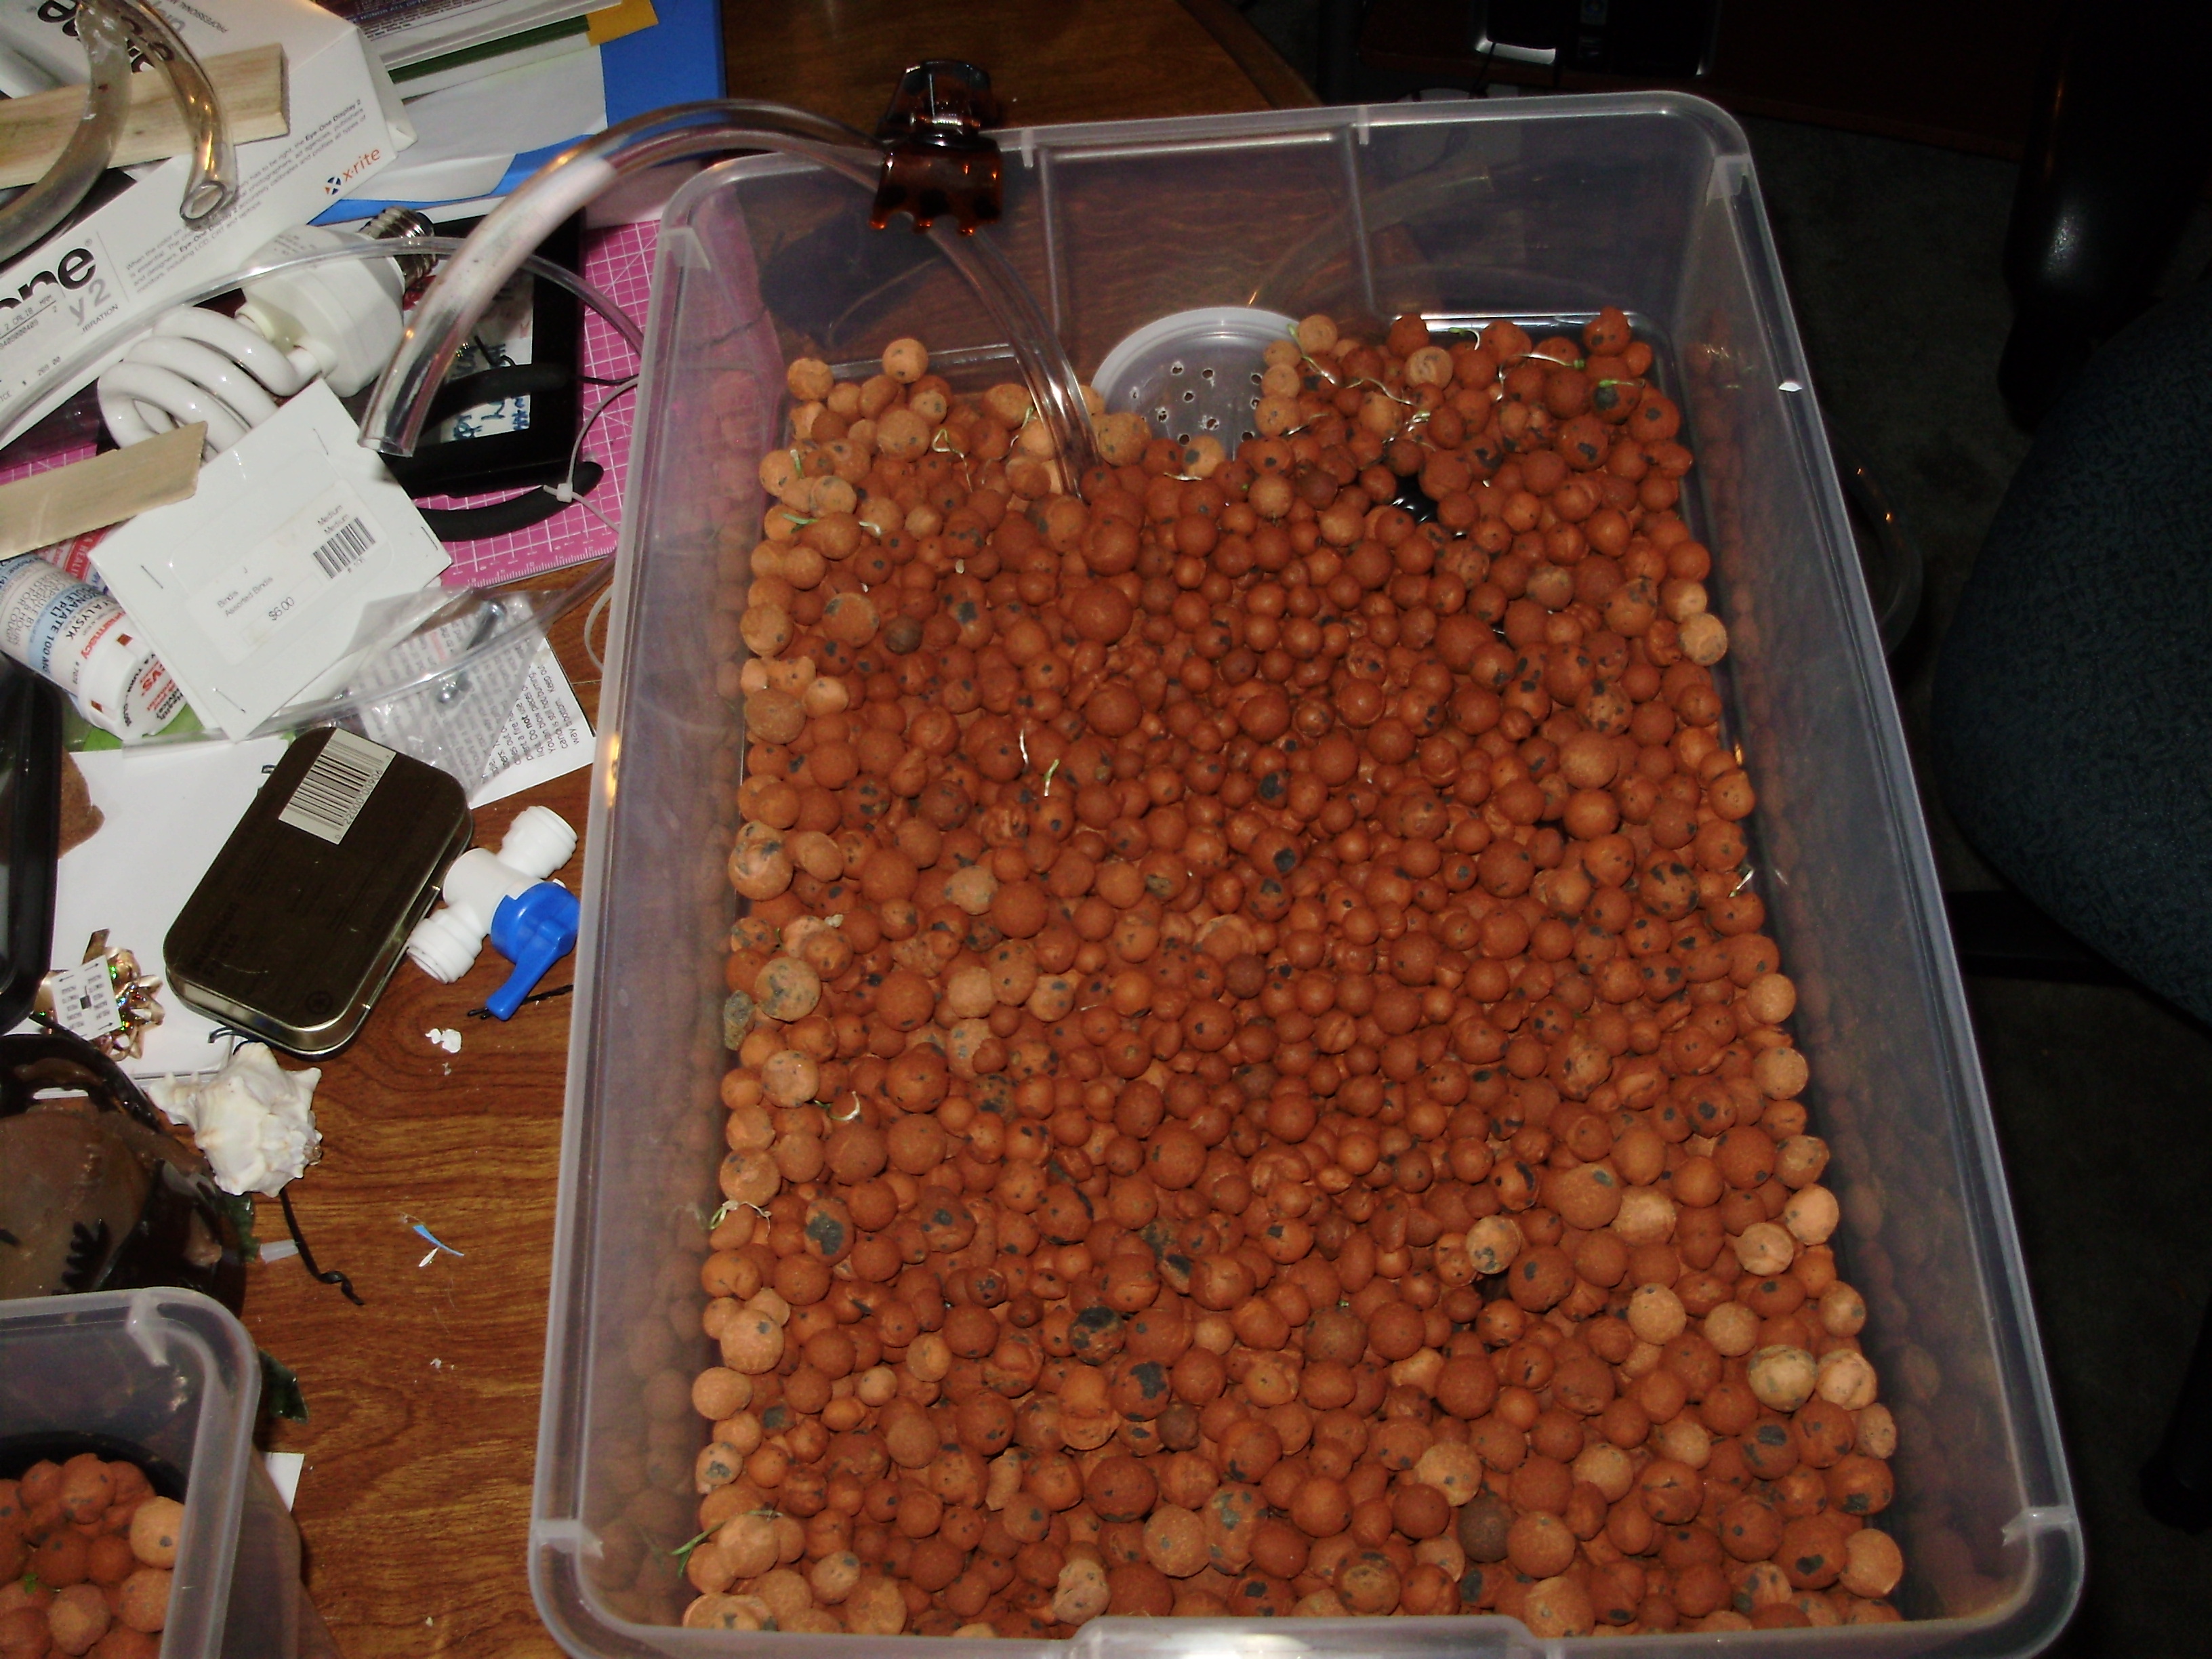
 In my other bed, I did this, and placed the net pots on top of the tube and filled in around with more hydroton.
 What I should have done at this point was pull the input through the hole and then put more hydroton on top. Instead, I had thought it would be sufficient to go over the lip and use the hole as an output. (Keep reading)
 I hooked up my awesome water pump to the tubing and a T-valve that brought the water to the growbeds.
 That output hole? Leaked even with silicone sealant and allowed too much water to build up in the beds. This needed to be fixed.
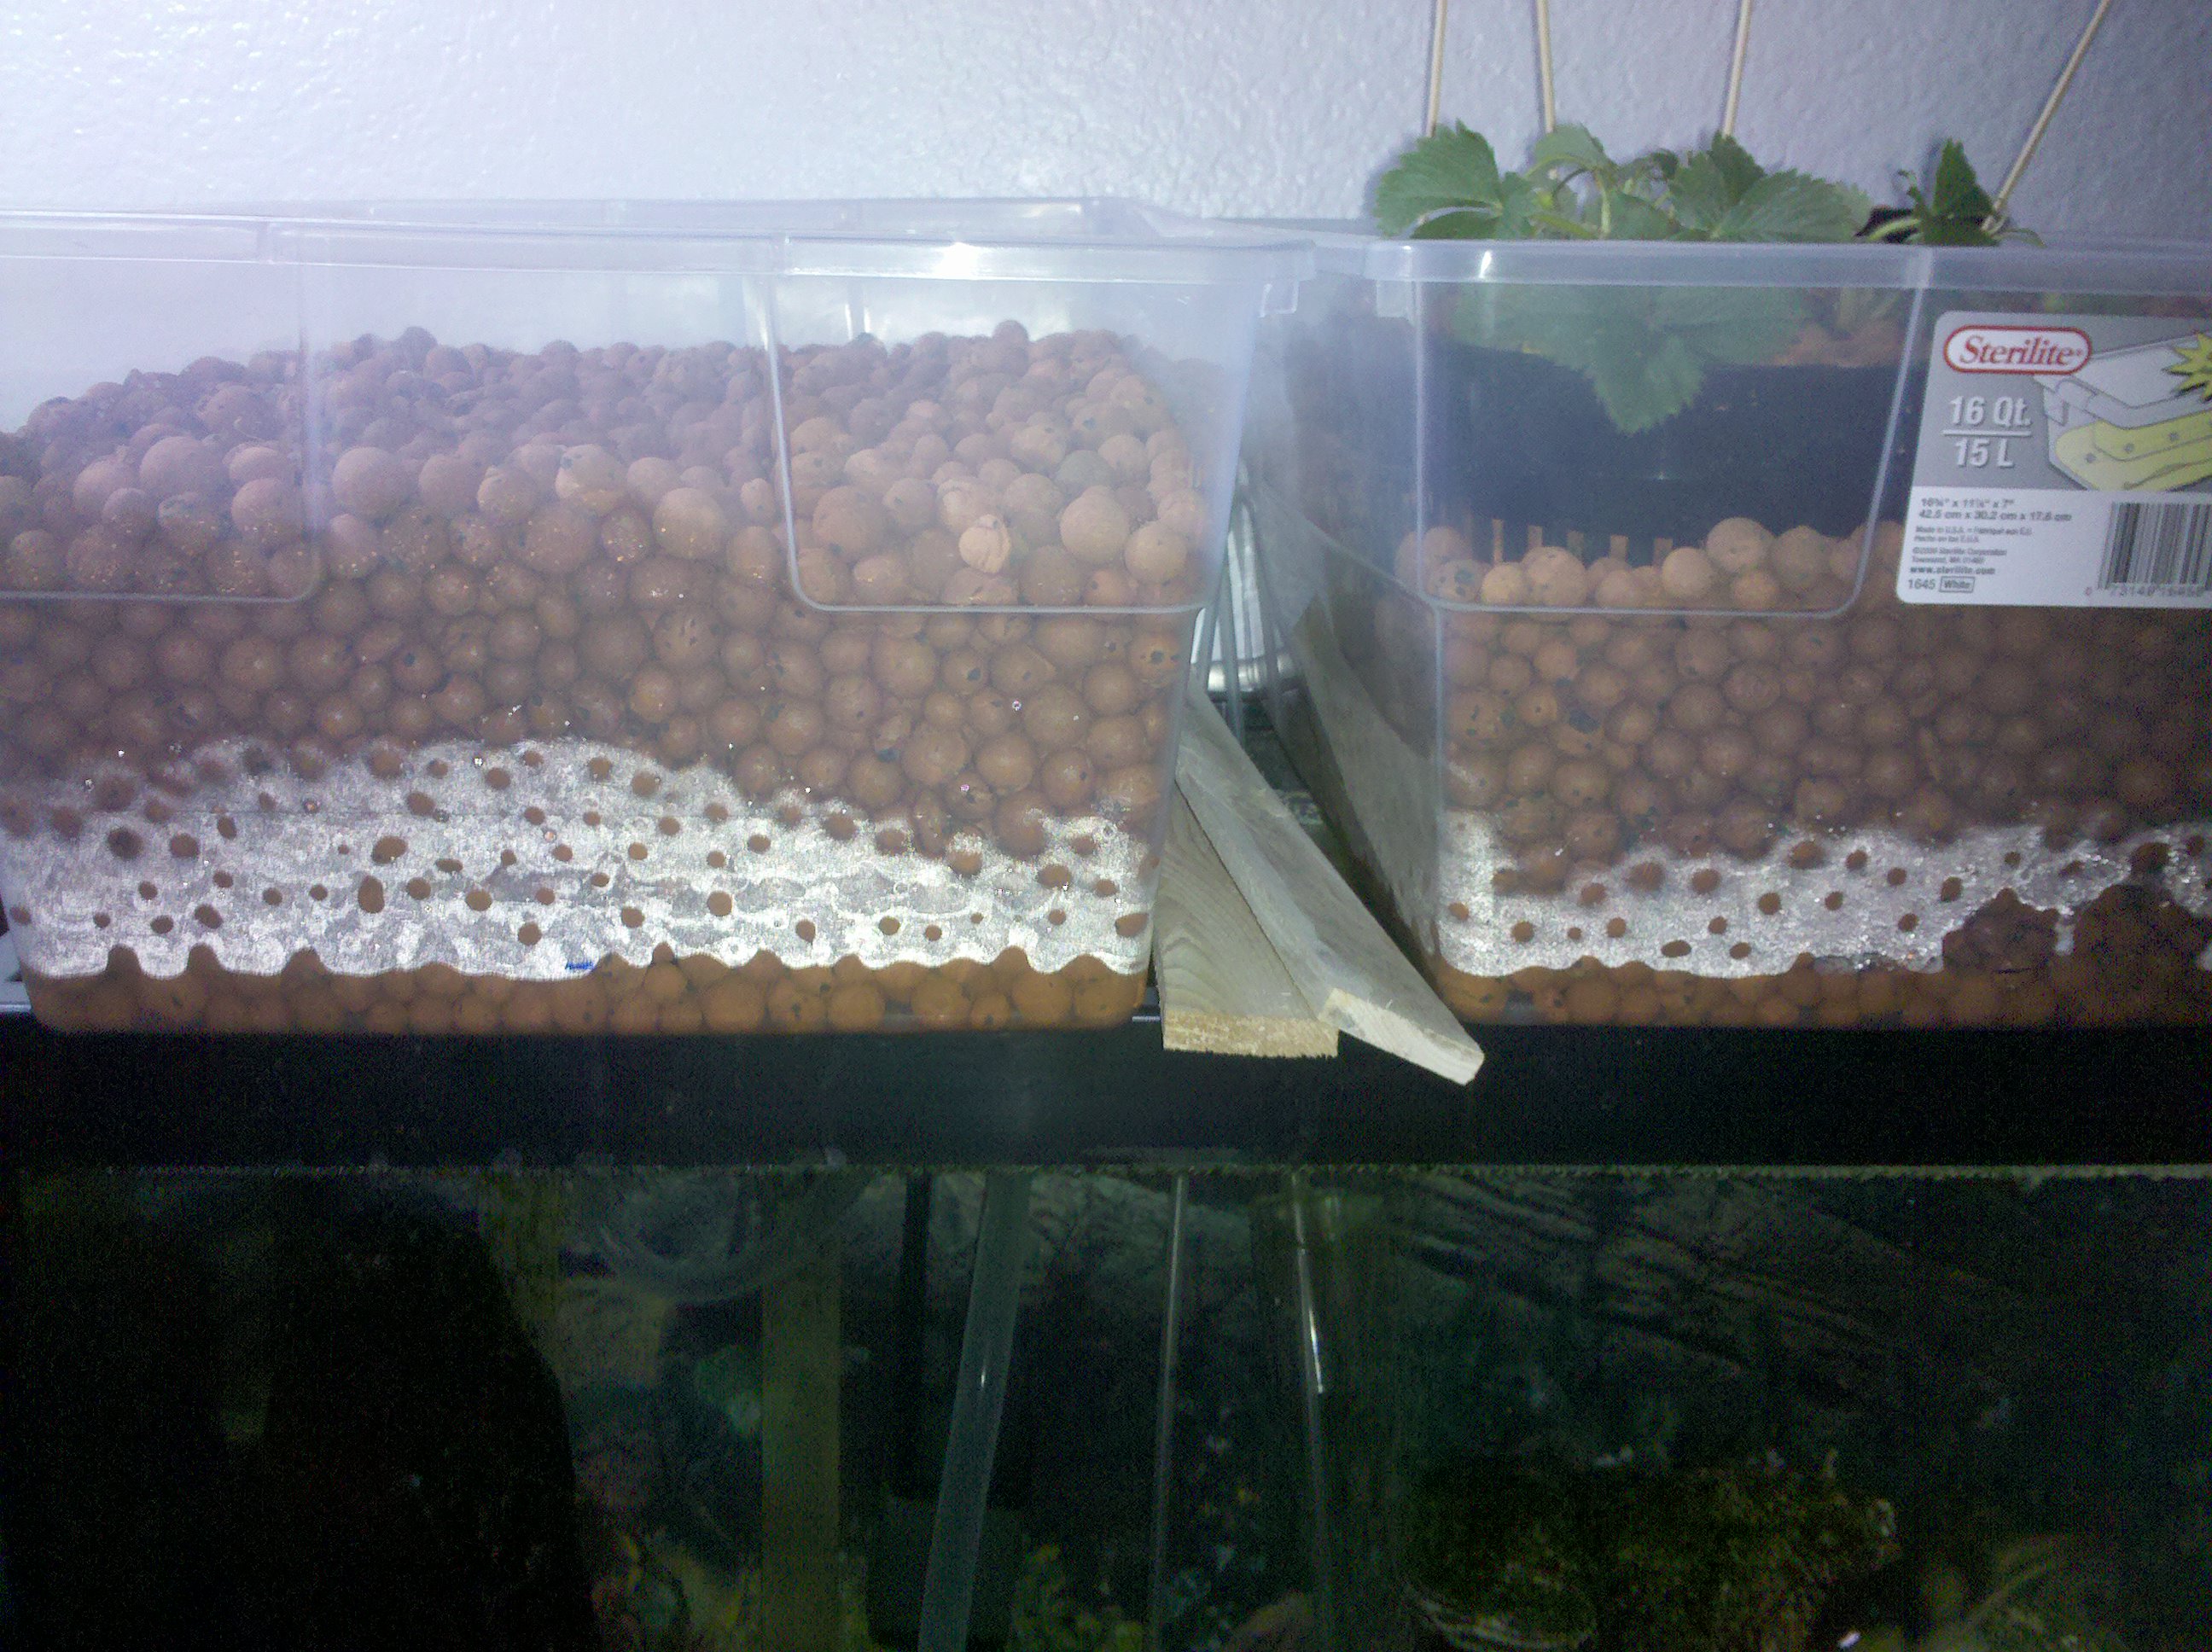
 I let this drain, then poked holes every 2 inches underneath the bed (should have done this at beginning), careful to not get water on my electrical dremmel. This took the help of a friend and a towel. Growbed 2 went down nice, but I had forgotten about the bubblers in my tank. I had to take them out of the undergravel filter and let them loose in the tank while I solved that problem.. And placed shims down so the fish wouldn’t jump out.
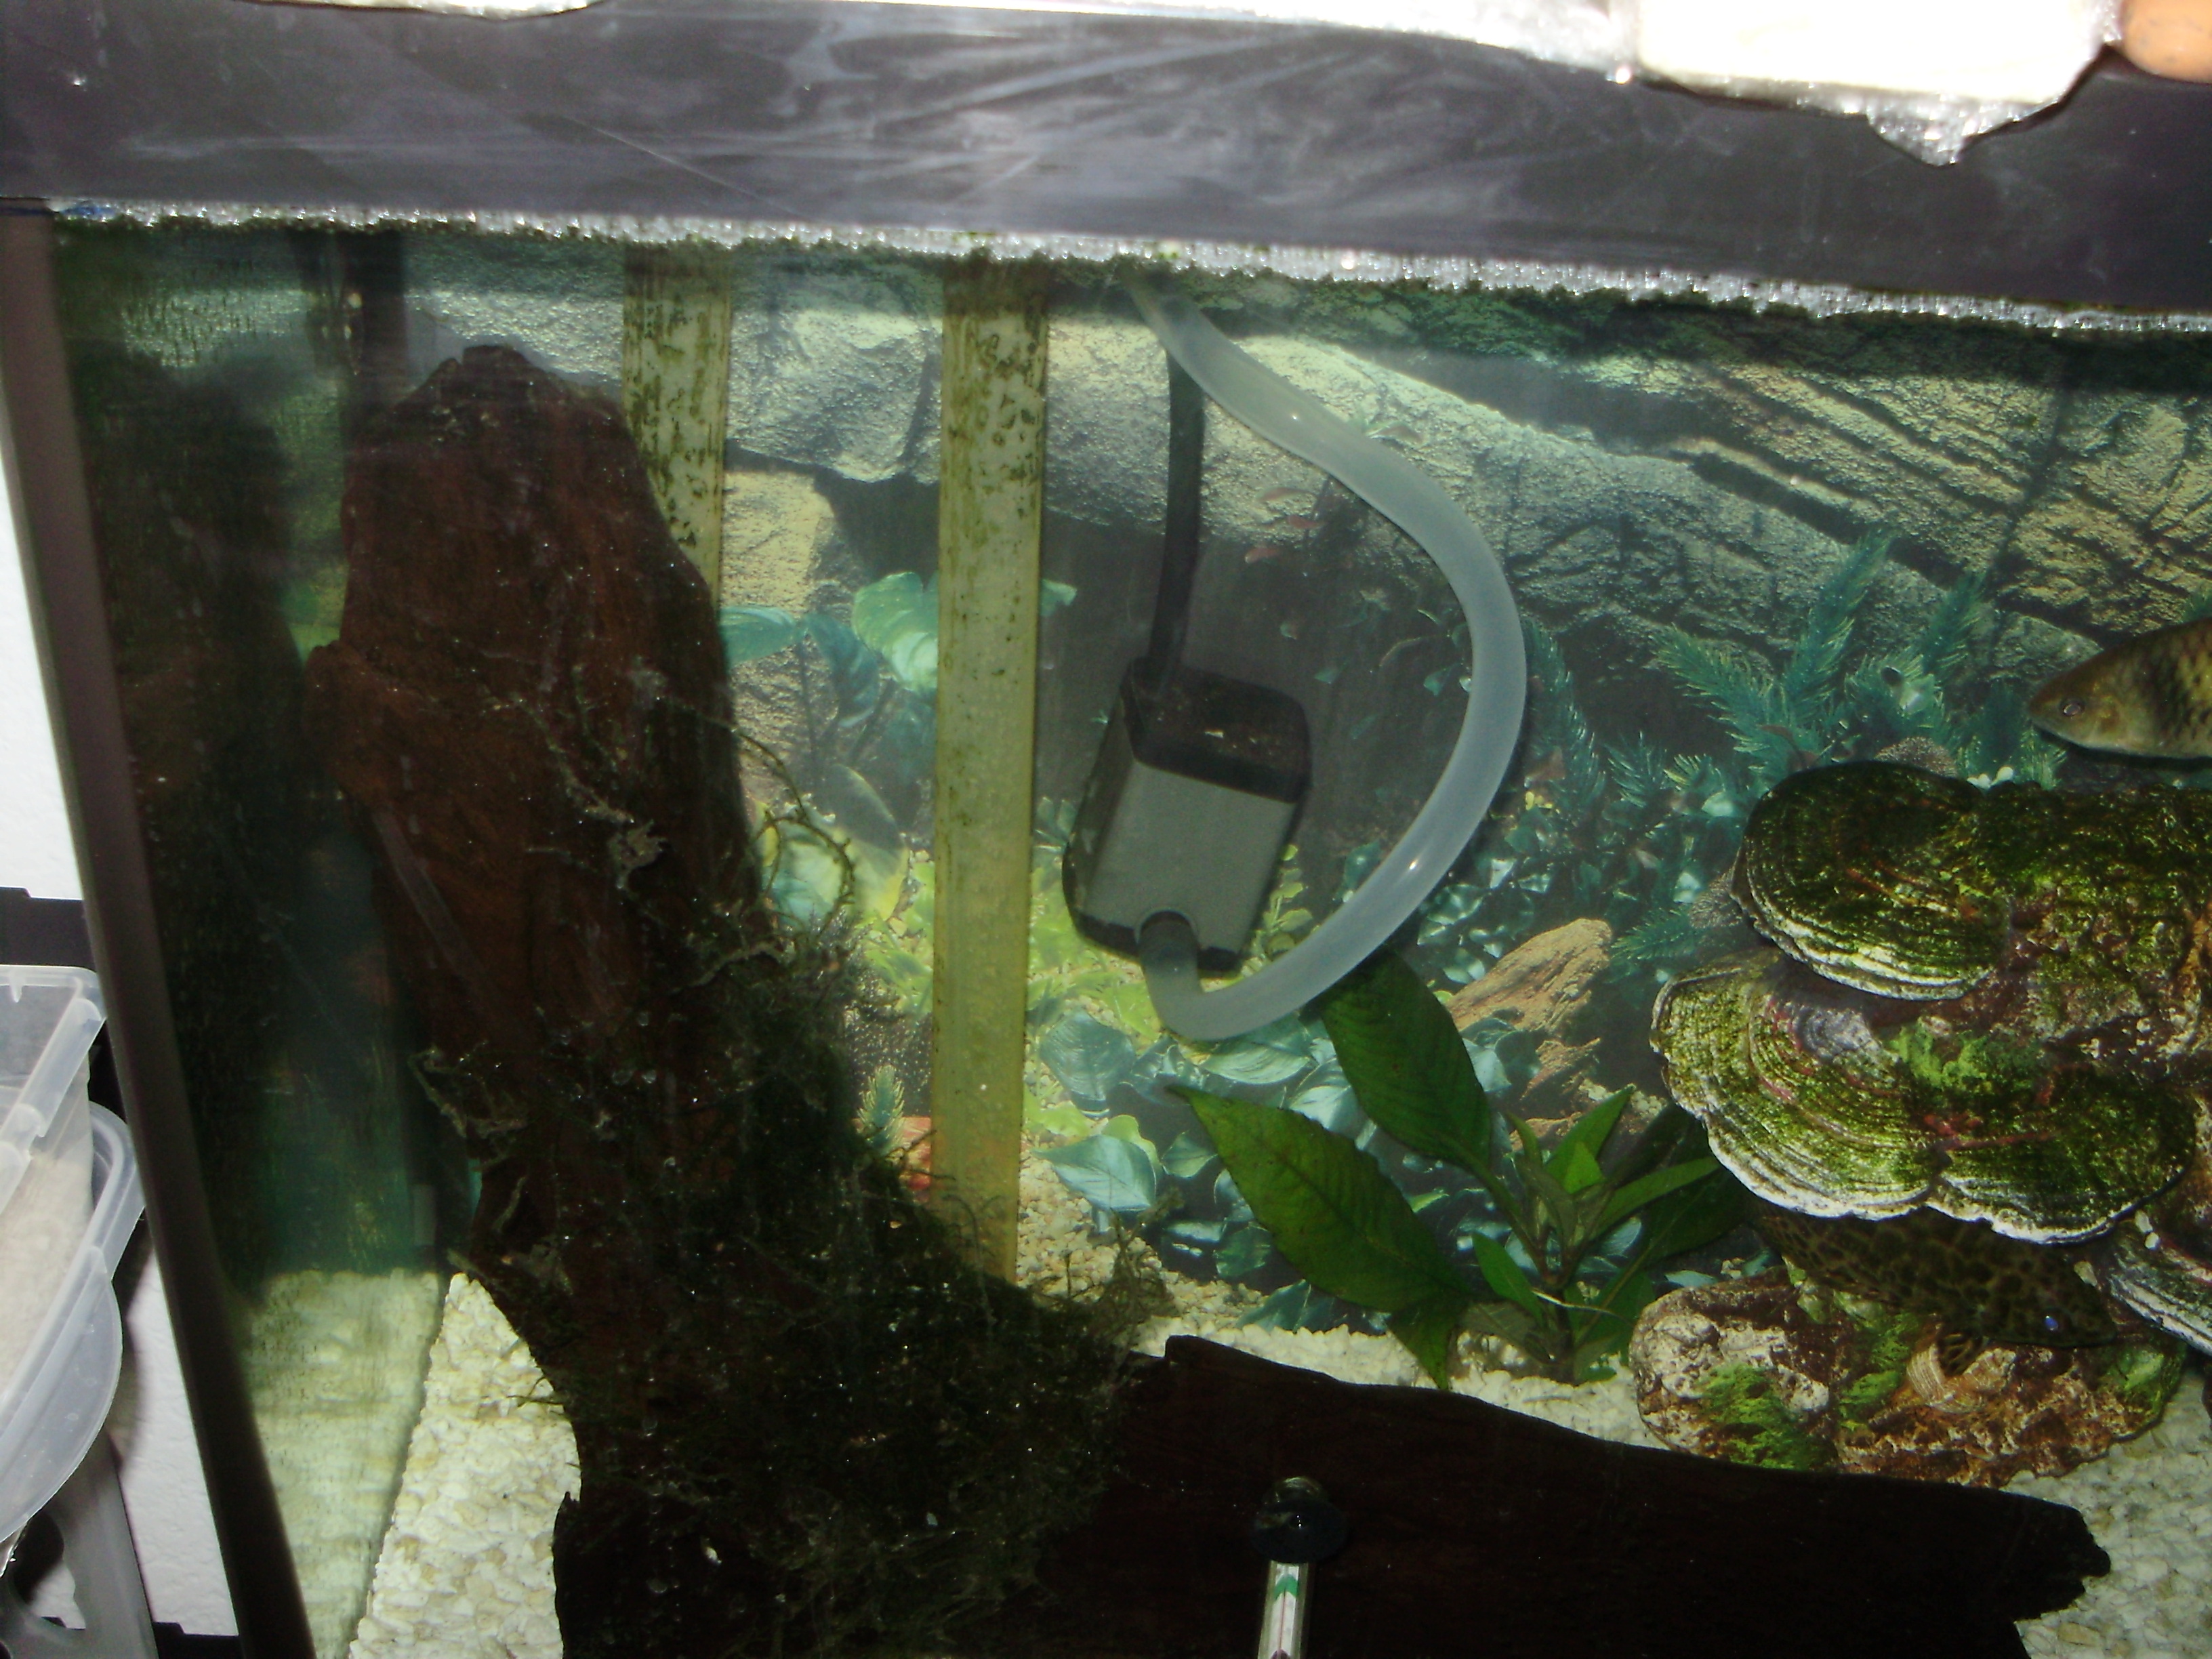
 Quick look at the tubing in the back.
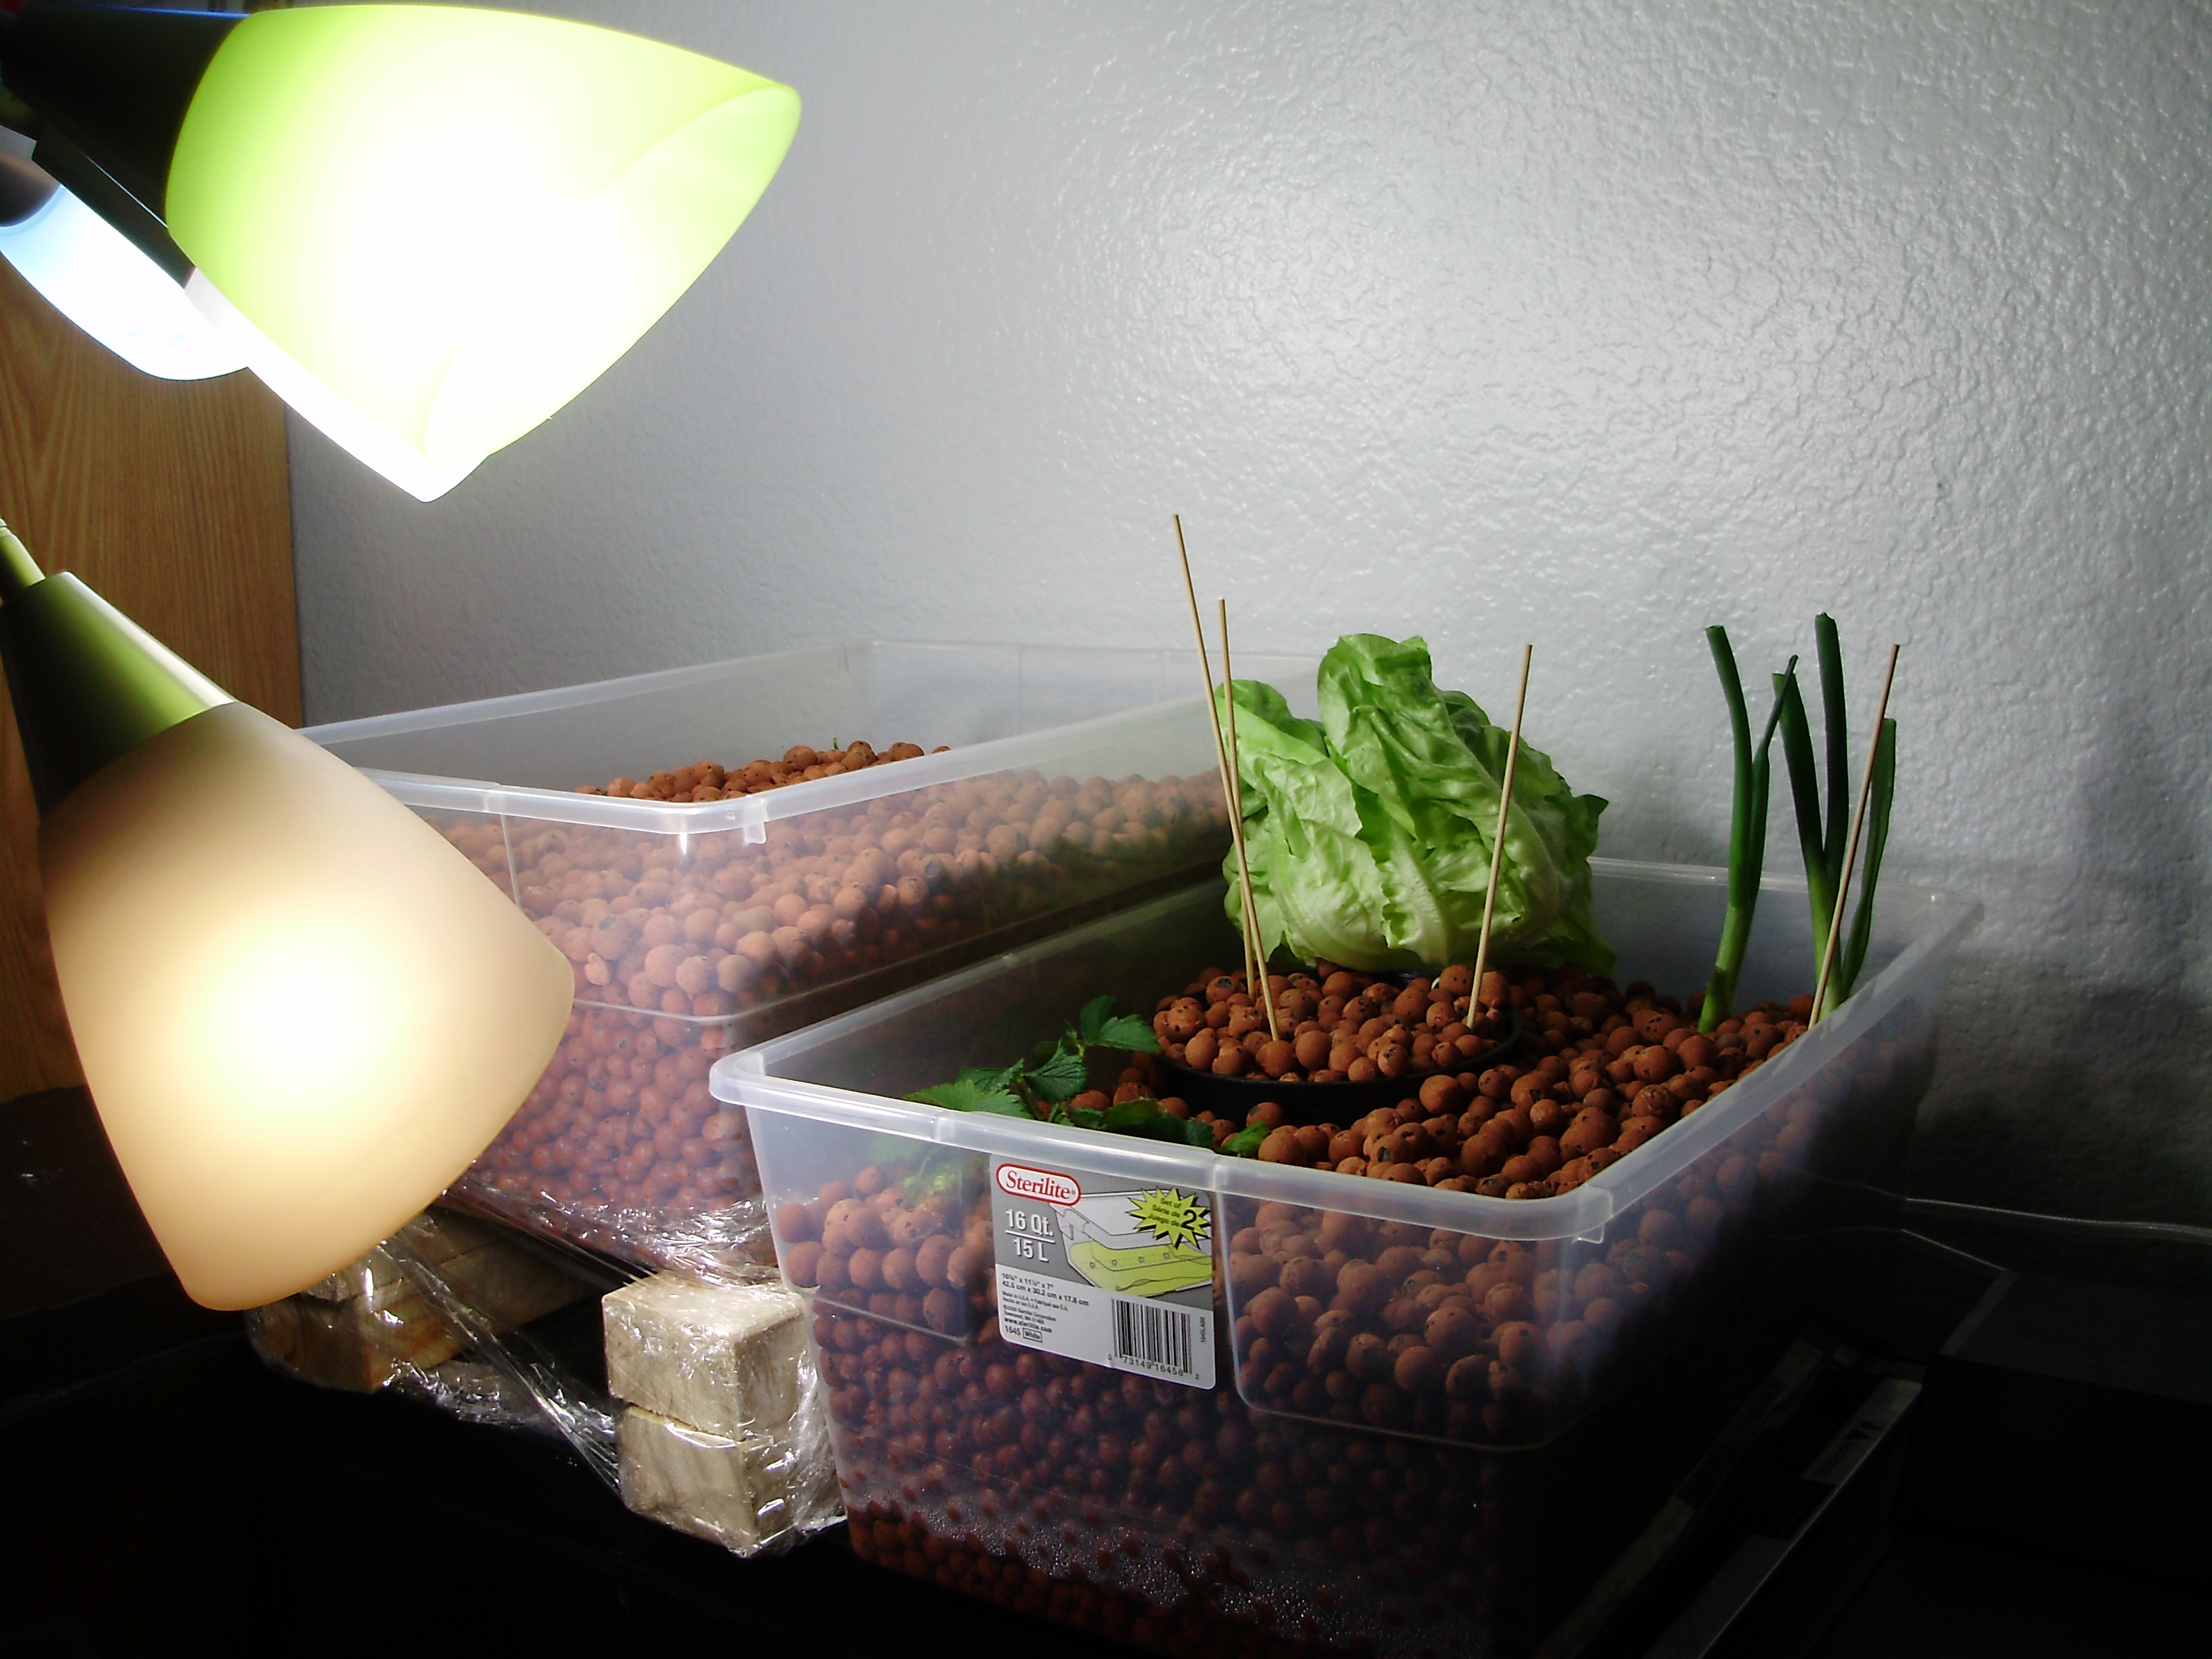
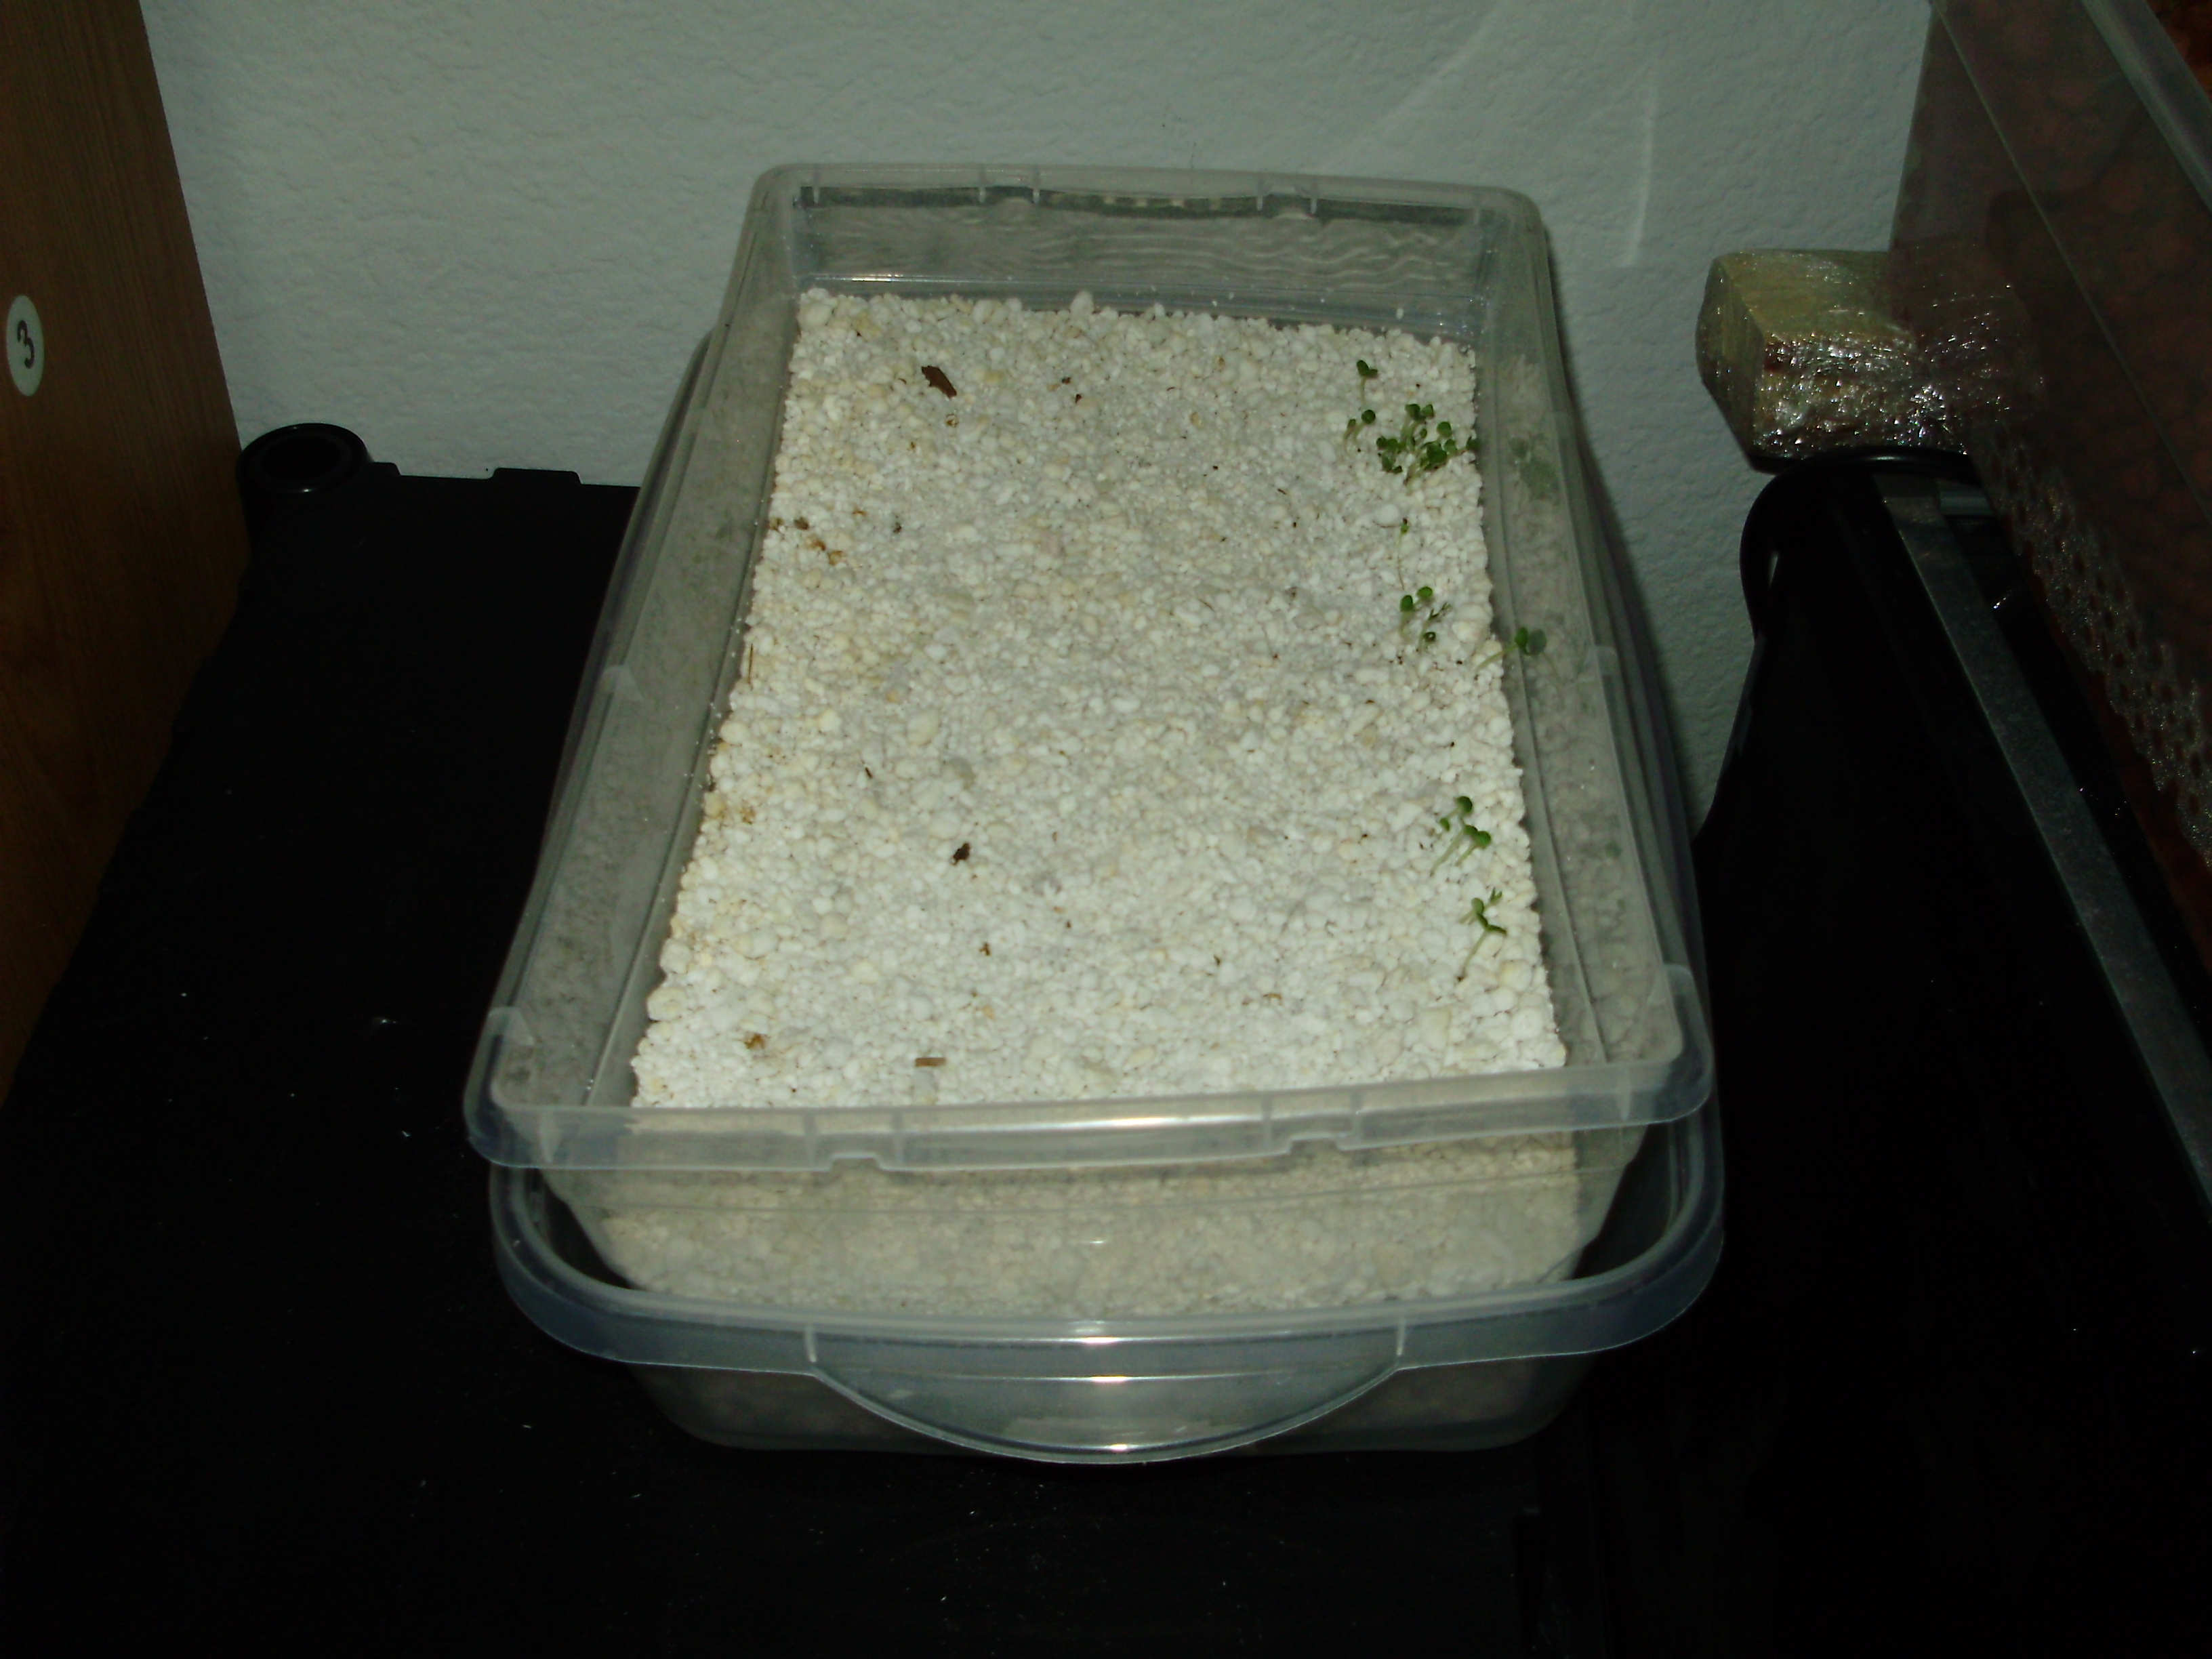
At some point, I decided to remove the netpots (except one) because things like the strawberries weren’t getting enough water. I only left the one for the snap peas b/c it has finer aquarium gravel in the bottom that I figured they would need for stability.
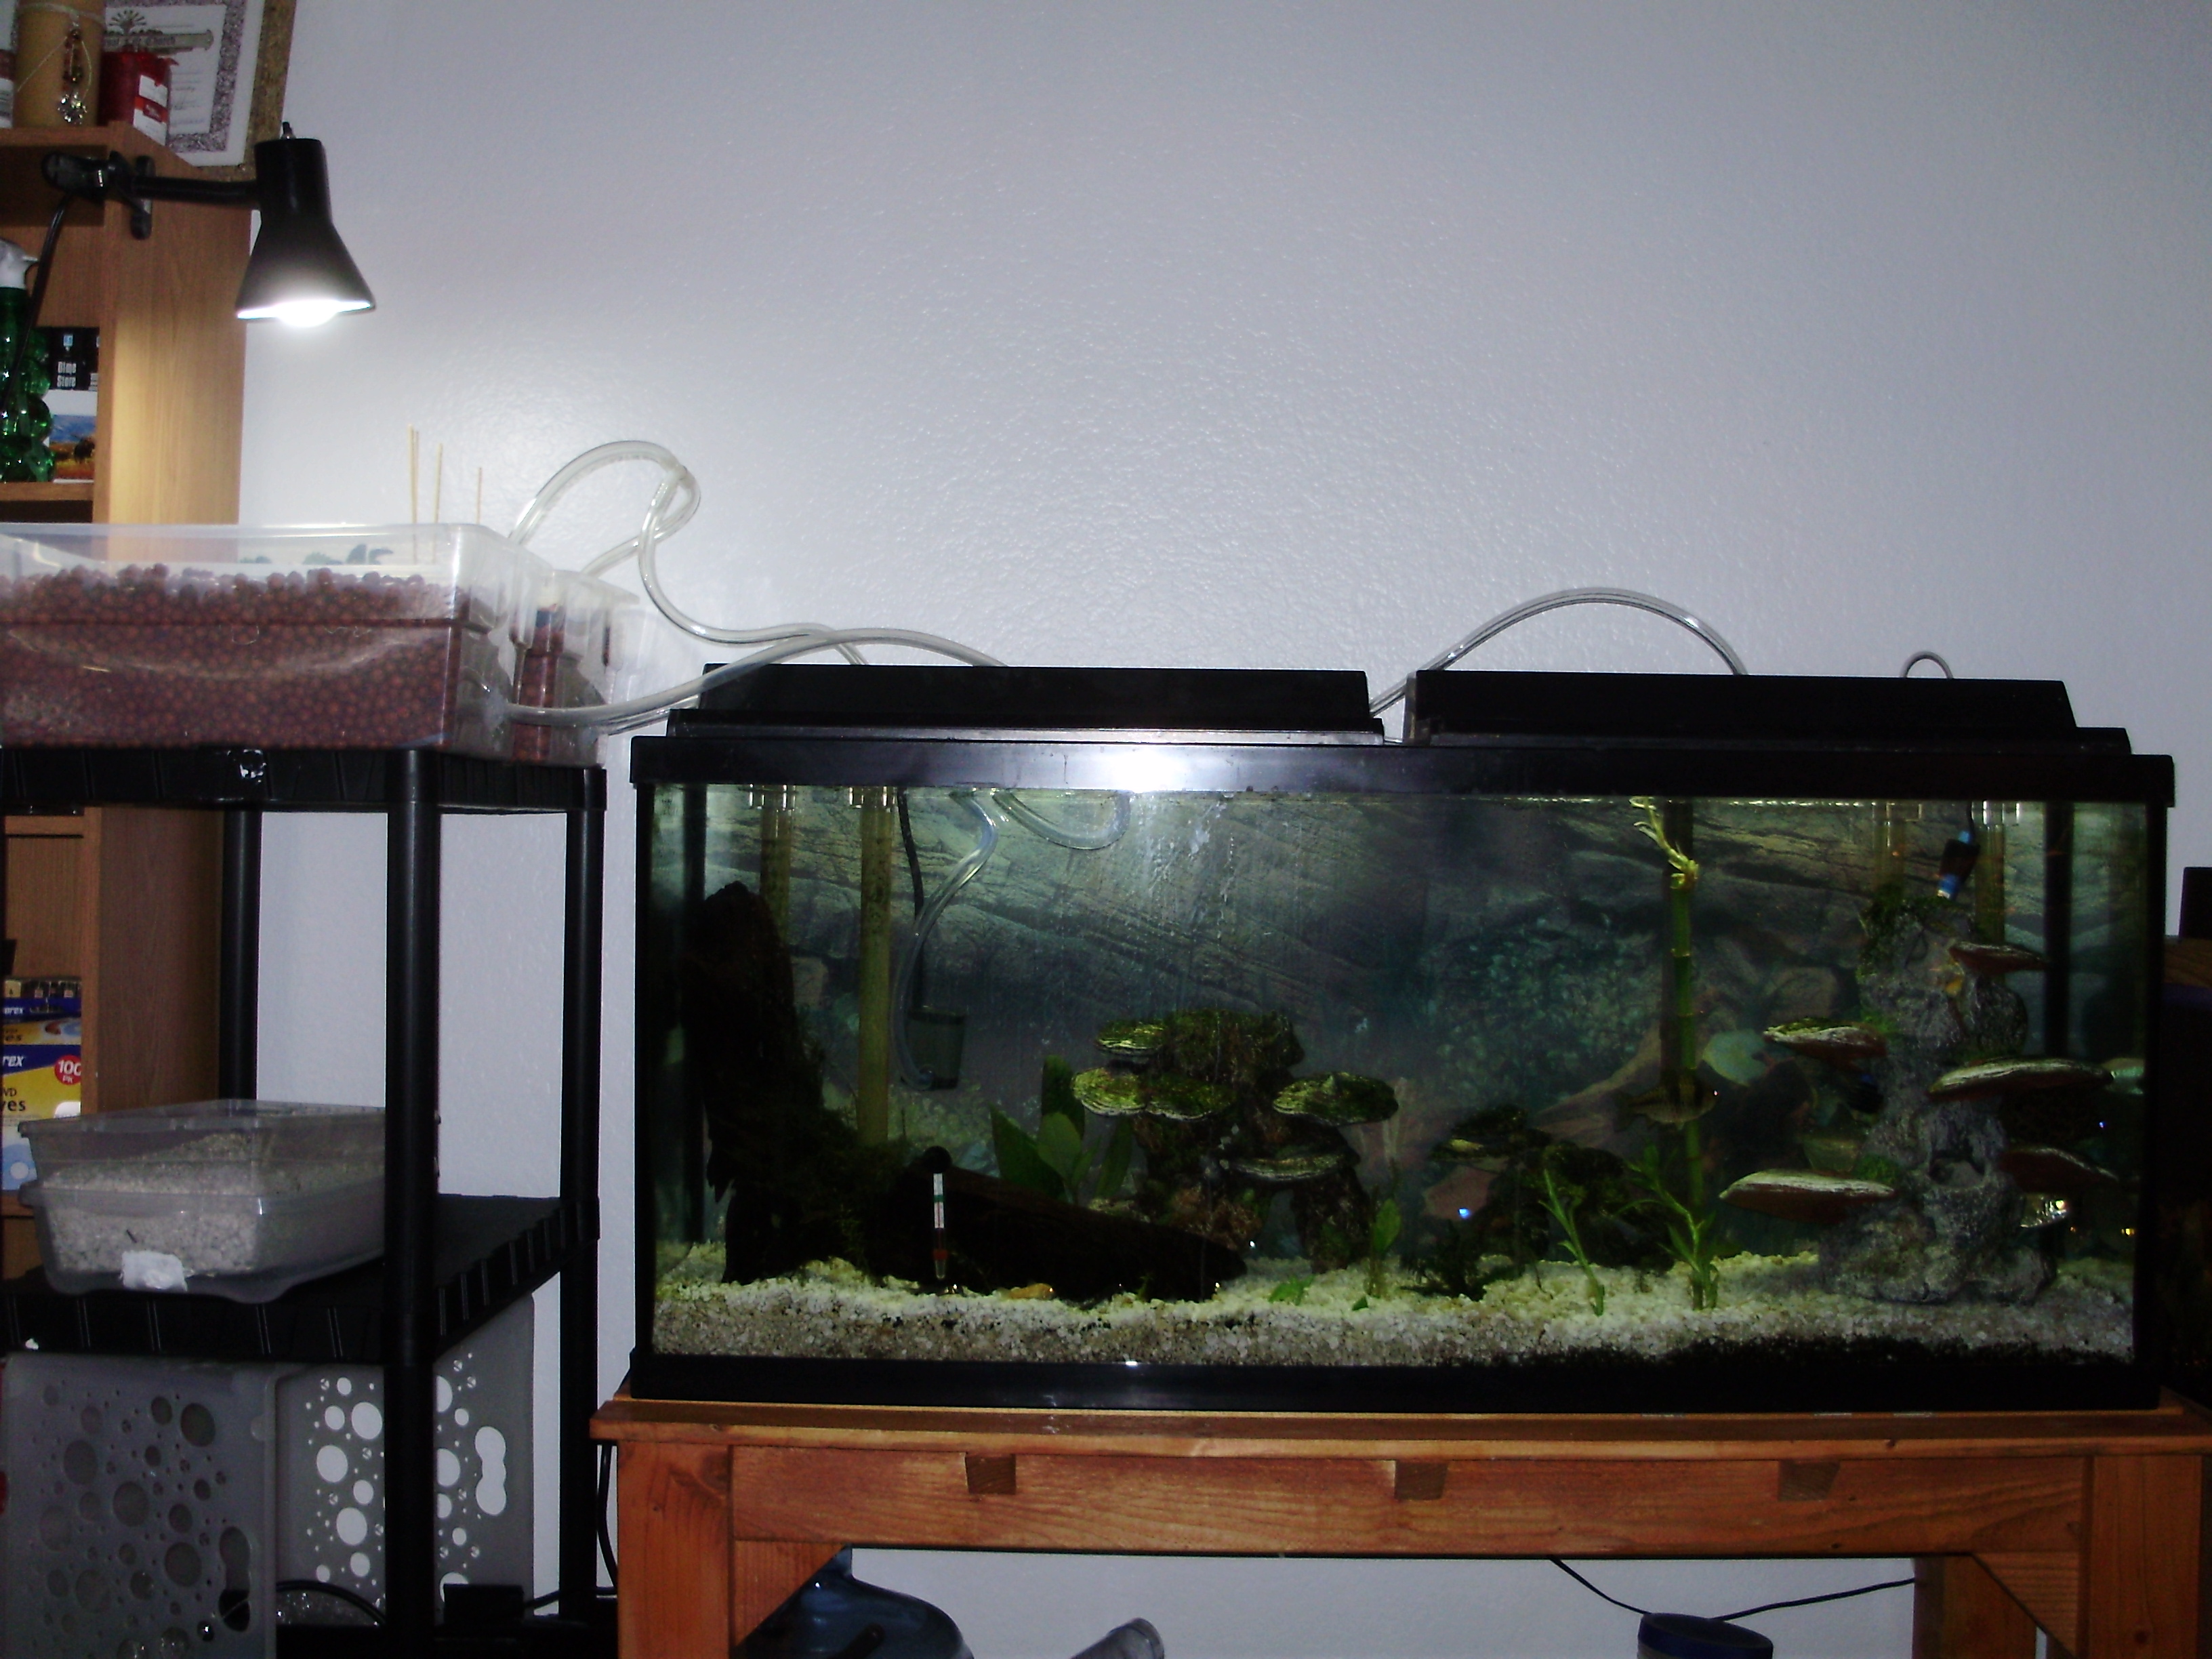
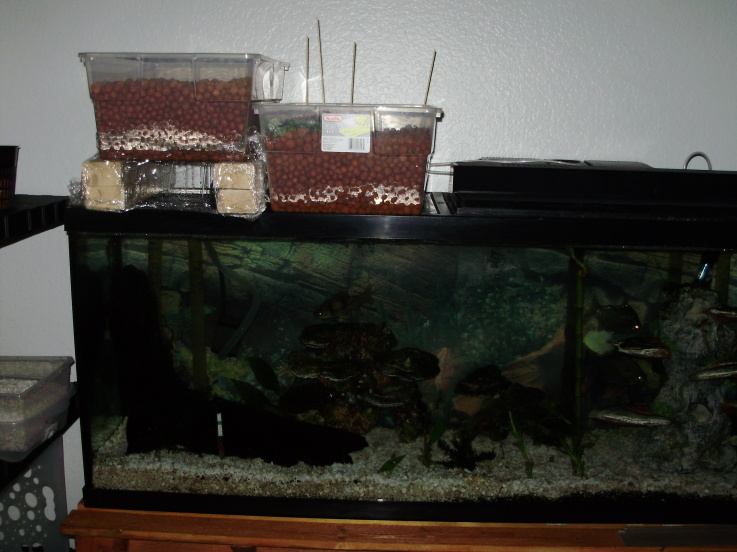
 After a brilliant conversation with a friend, I fashioned a window screen to fit tightly where the half hood used to be, cut a hole for the bubblers, tubing, and water pump’s power cord.
") I propped the growbed up on two stacks of two 2x4s wrapped in saran wrap. I also wrapped some saran wrap so that the splashing wouldn’t get on the carpet, but now I didn’t have to worry about my fish jumping out. Hooray! One problem.. It was ugly.
I propped the growbed up on two stacks of two 2x4s wrapped in saran wrap. I also wrapped some saran wrap so that the splashing wouldn’t get on the carpet, but now I didn’t have to worry about my fish jumping out. Hooray! One problem.. It was ugly.
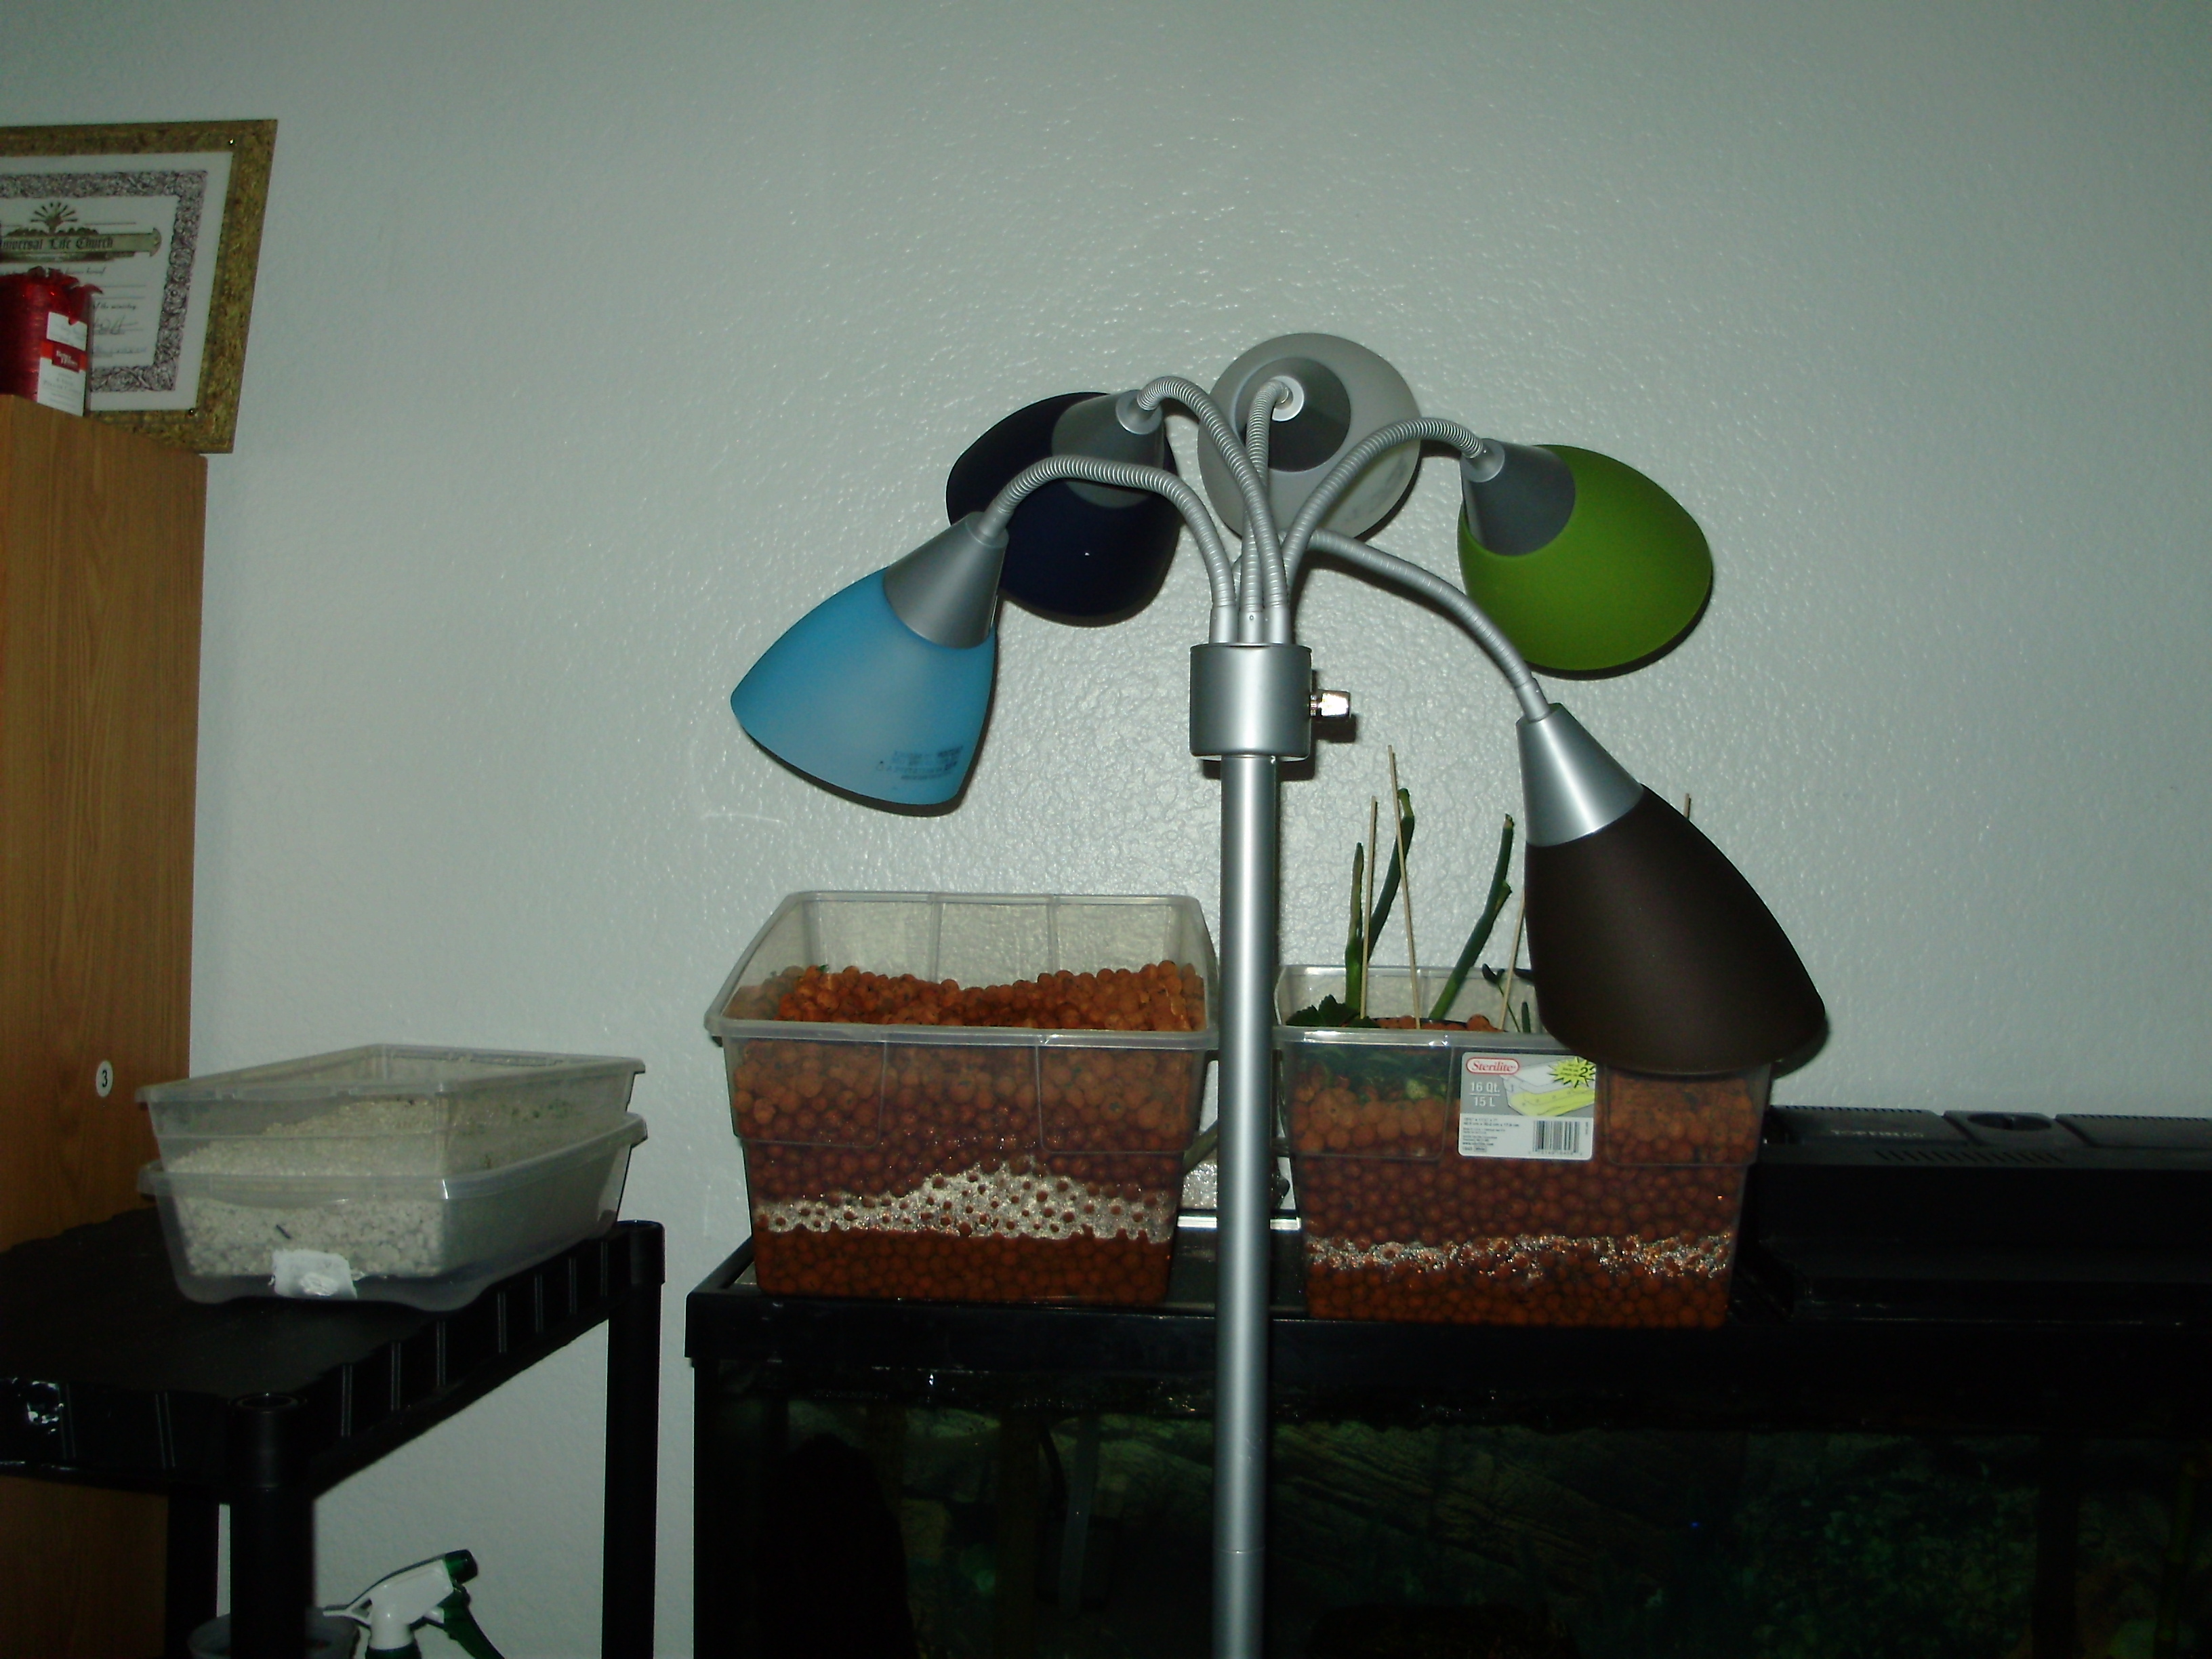
 I ended up shortening the bubbler tube, and propping up the back on 2 shims wrapped in saran wrap (I may only have the 2×4 pictured), placed under the end in the back. The medusa lamp holds 5 CFLs mixed full and daylight spectrums.
I didn’t include all the pictures above, but you can find them here:
-
- Ze Plans